Meet the People area
The People area is your contact database inside Tented. Every person you market to — leads from tent forms, imported lists, customers you add by hand — lives here, ready to be organized into lists and reached through email blasts and triggered flows. Click People in the sidebar to see everyone in your database. You can sort by any column, search by name or email, and customize which columns appear with the Columns button.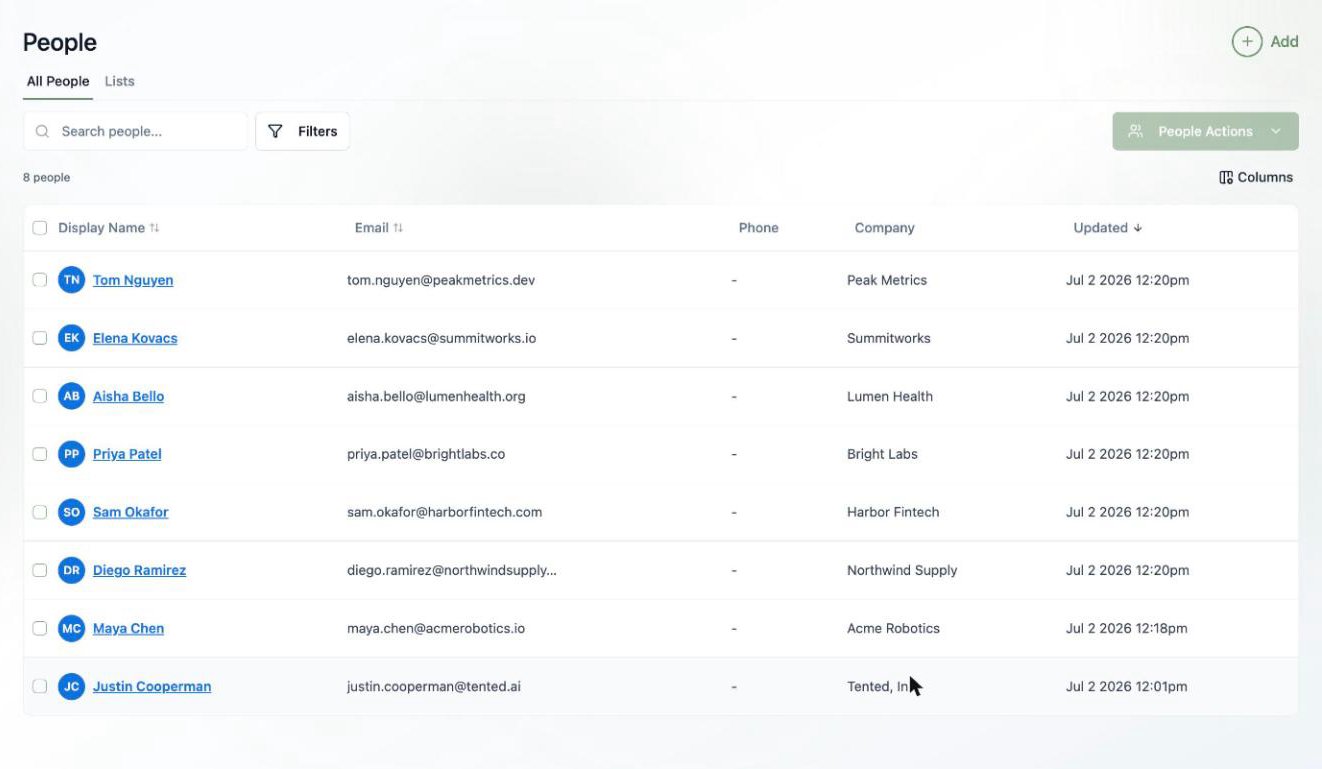
Adding contacts
Click the Add button in the top-right corner to see your options: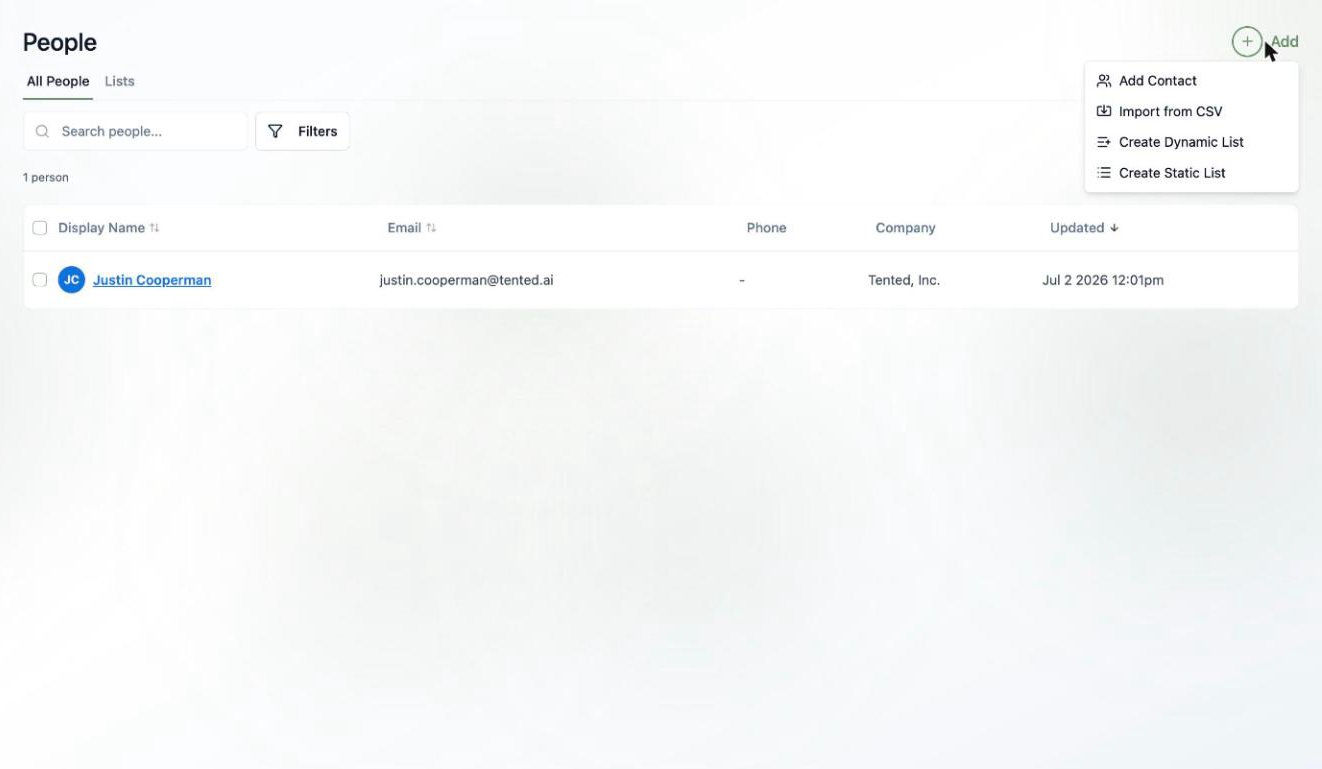
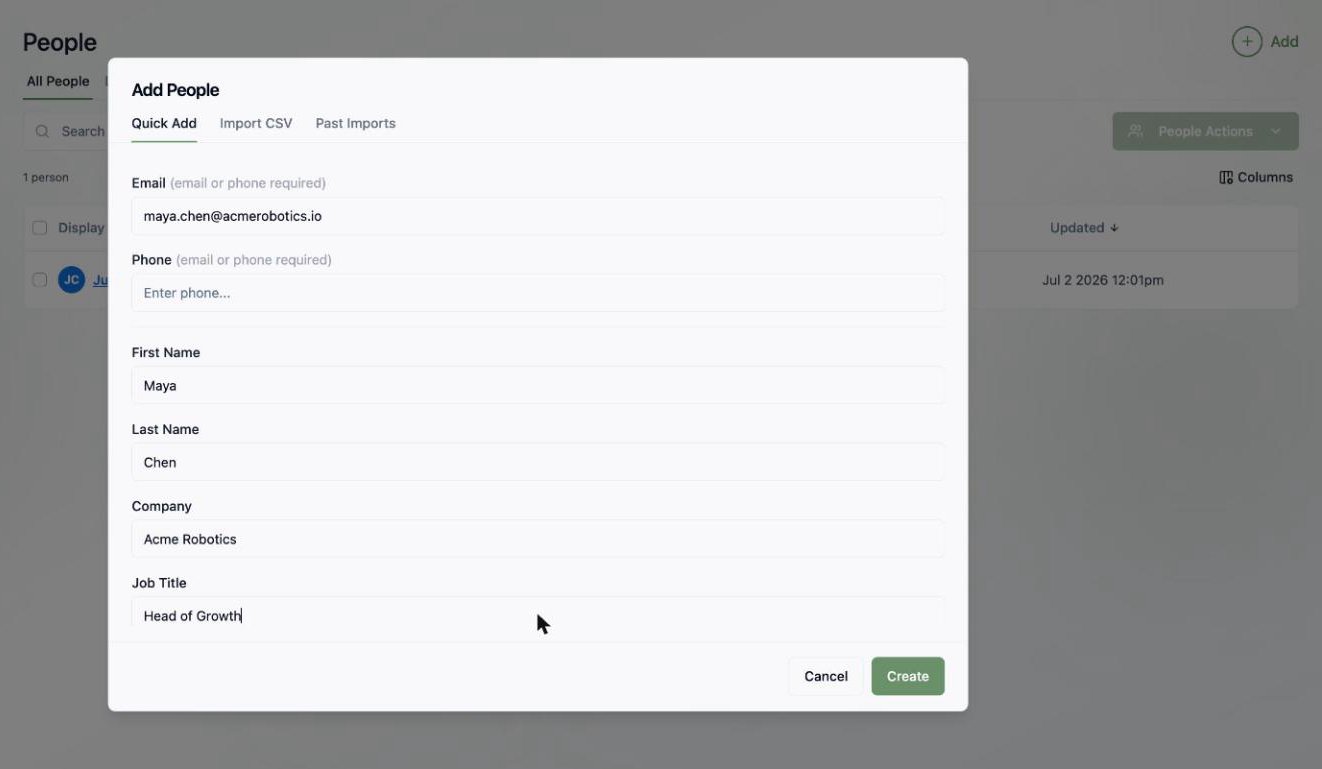
Quick Add
Perfect for adding one person at a time. An email or phone number is required — everything else is optional:- Email and Phone
- First Name and Last Name
- Company and Job Title
Import from CSV
Got a whole list? Choose Import from CSV and drag in your file. Tented reads your column headers, auto-maps them to contact fields, and gives you a row-by-row report when it’s done.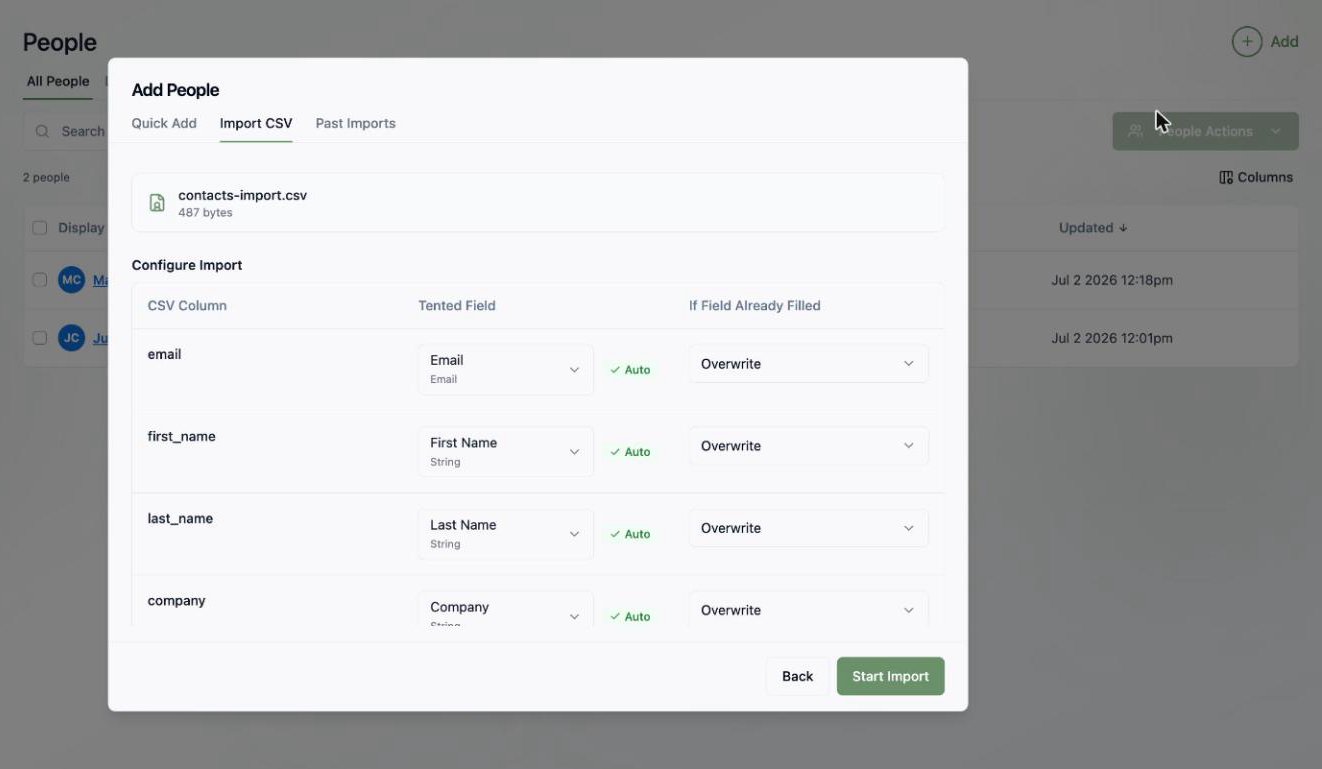
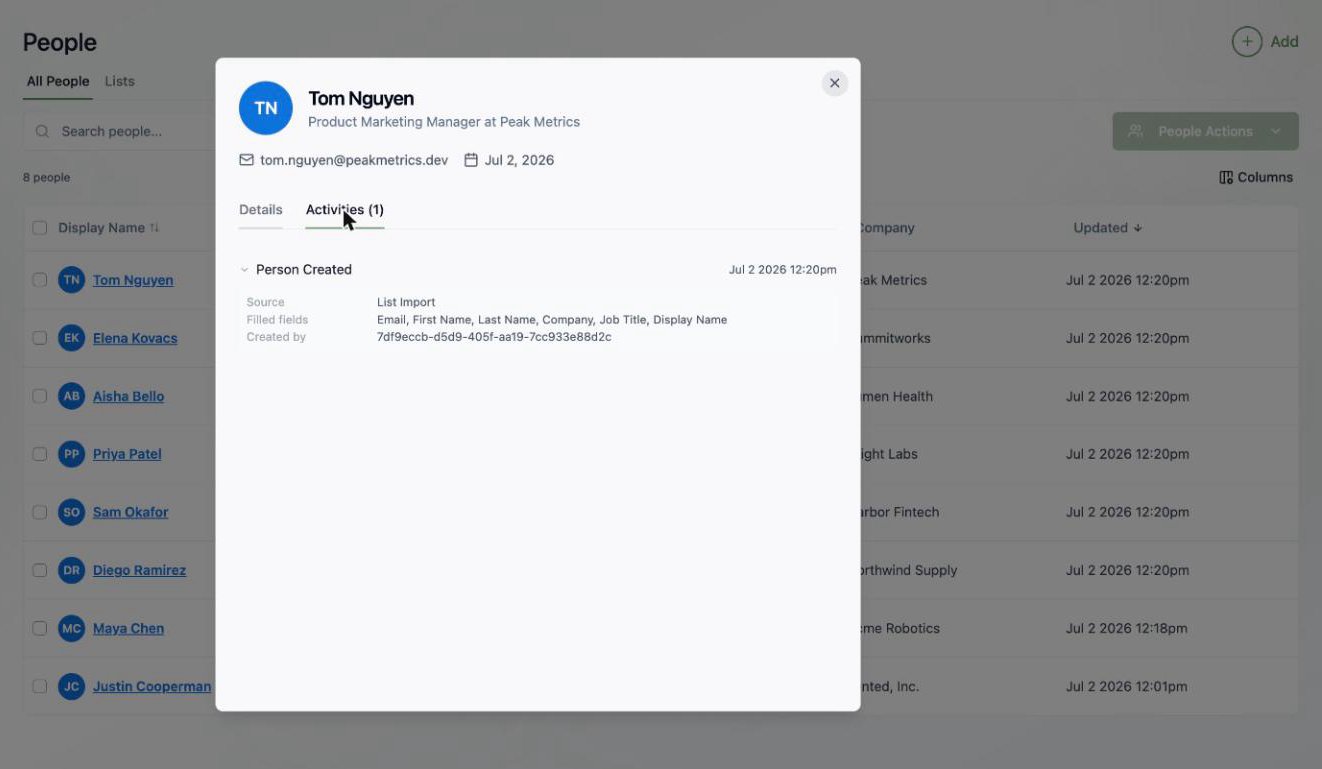
Viewing a contact
Click any contact’s name to open their profile. The Details tab shows all their standard and custom fields — name, email, company, job title, address, lead status, lifecycle stage, and their Unsubscribed status for email marketing. You’ll also see which lists they belong to and any triggered flows they’re enrolled in.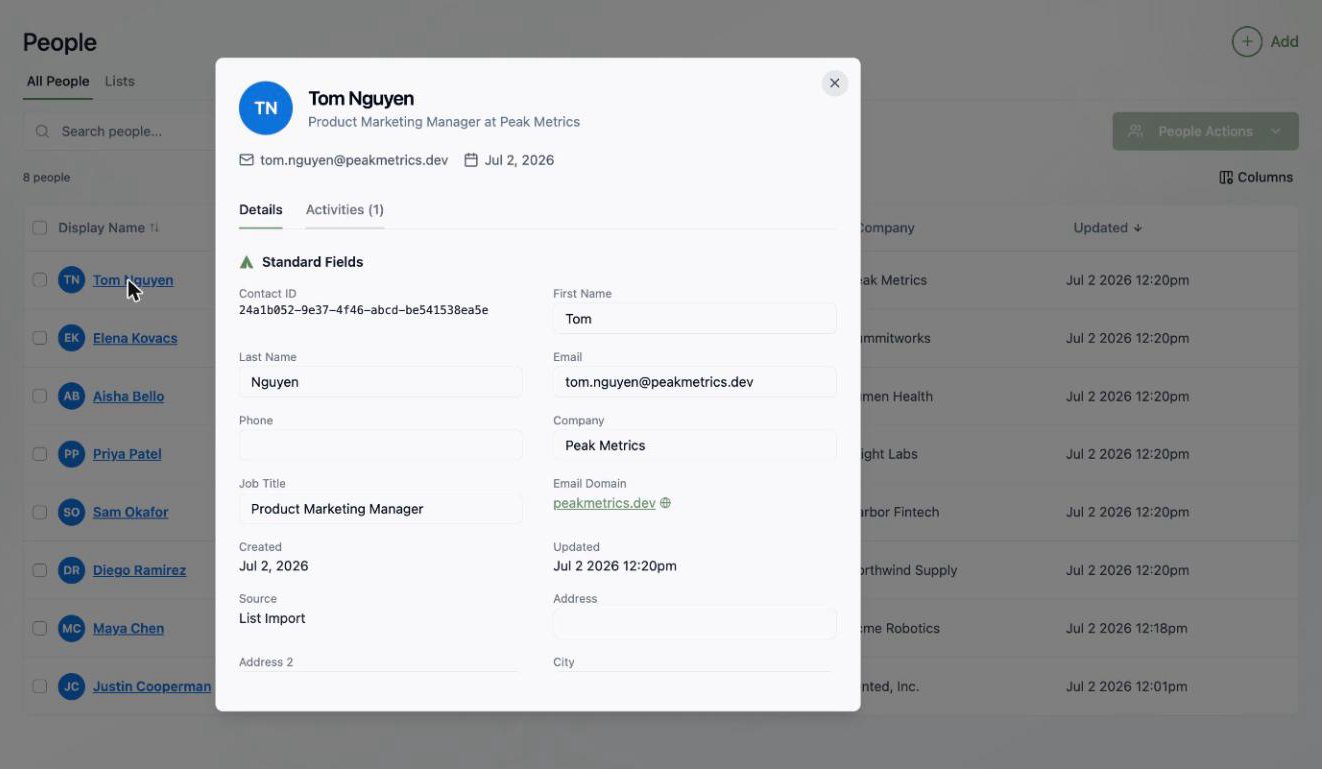
Filtering people
Click Filters to slice your database with audience rules. Rules can match on:- Contact property — any standard field, like Job Title contains “Marketing”
- Activity — things that happened, like Form Submitted in the last 7 days
- List membership — whether someone is (or isn’t) on a specific list
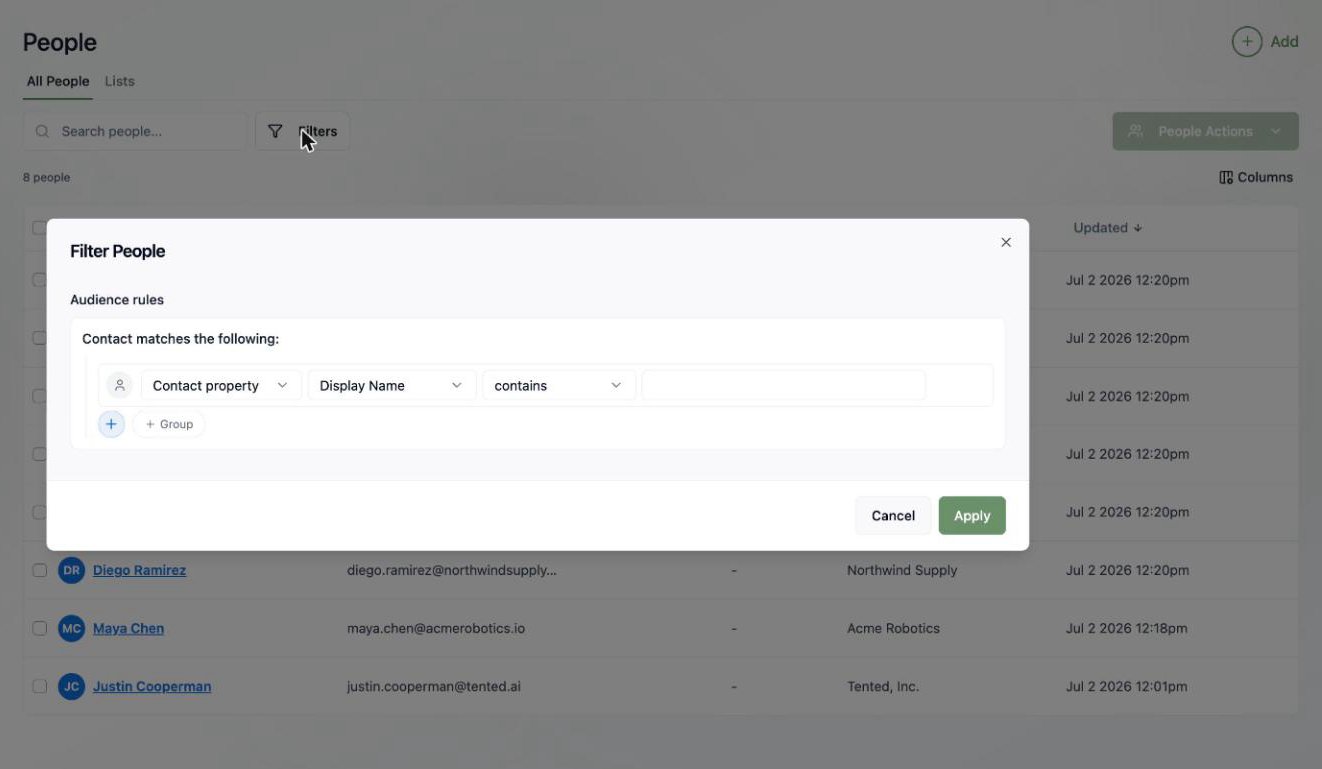
These are the same audience rules used to build dynamic lists — so if you find yourself applying the same filter over and over, save it as a dynamic list instead.
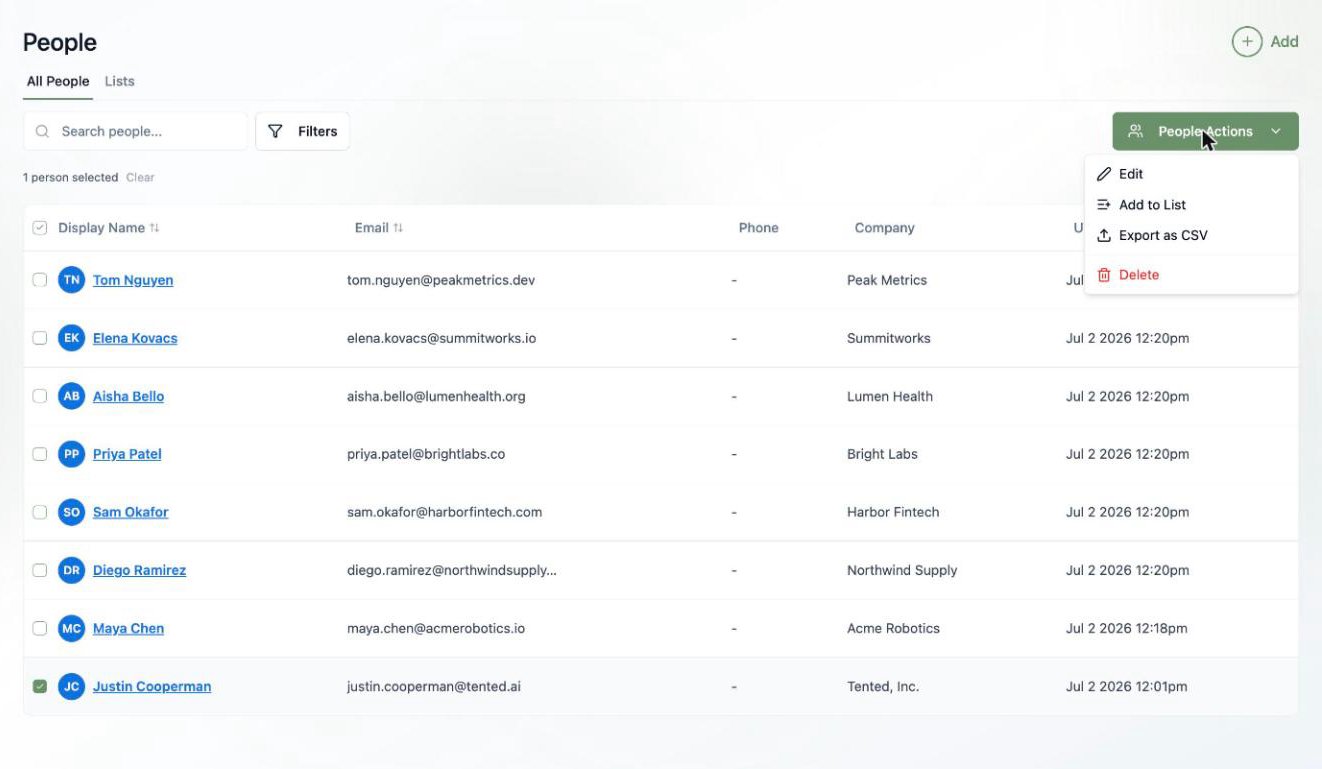
Bulk actions
Select one or more contacts with the checkboxes and the People Actions menu lights up. From there you can:- Edit — bulk-update a field across every selected contact (see below)
- Add to List — drop them into an existing static list or create a new one on the spot
- Export as CSV
- Delete contacts you no longer need
Bulk-editing a field
Select your contacts, choose People Actions > Edit, pick a field (any standard or custom field), enter a new value, and apply it to everyone in the selection at once. Perfect for setting a lifecycle stage or lead status on a whole segment.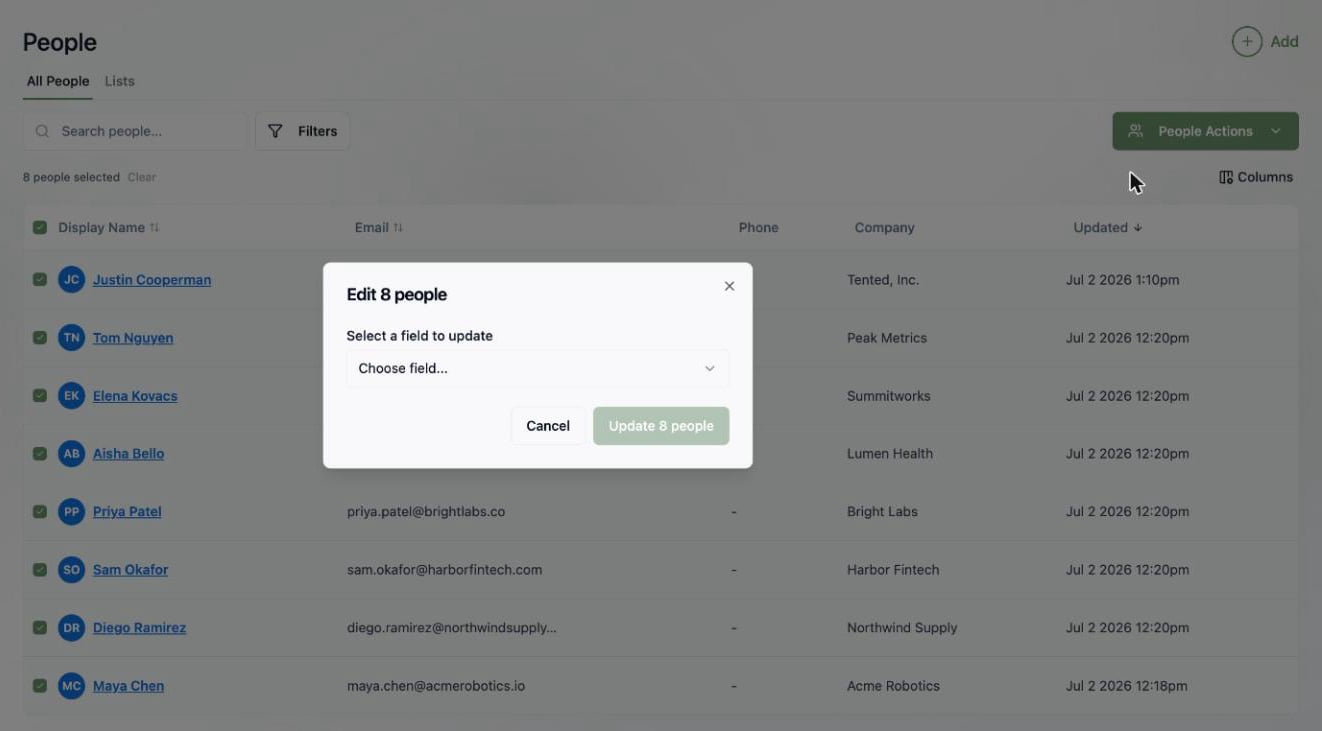
What’s next?
Next: Working with Lists
Organize your contacts into static and dynamic lists — the audiences behind your campaigns.