Publishing Overview
Publishing your tent makes it available on the web with a unique URL that you can share with your audience. The publishing process is simple and fast, taking just a few clicks to go from draft to live landing page.Publishing Process
Initial Publishing
Make sure you preview your tent first. There are two ways to publish your tent to the web. From the tent editor:- Click Publish at the top right of the screen.
- Confirm publishing in the dialog box.
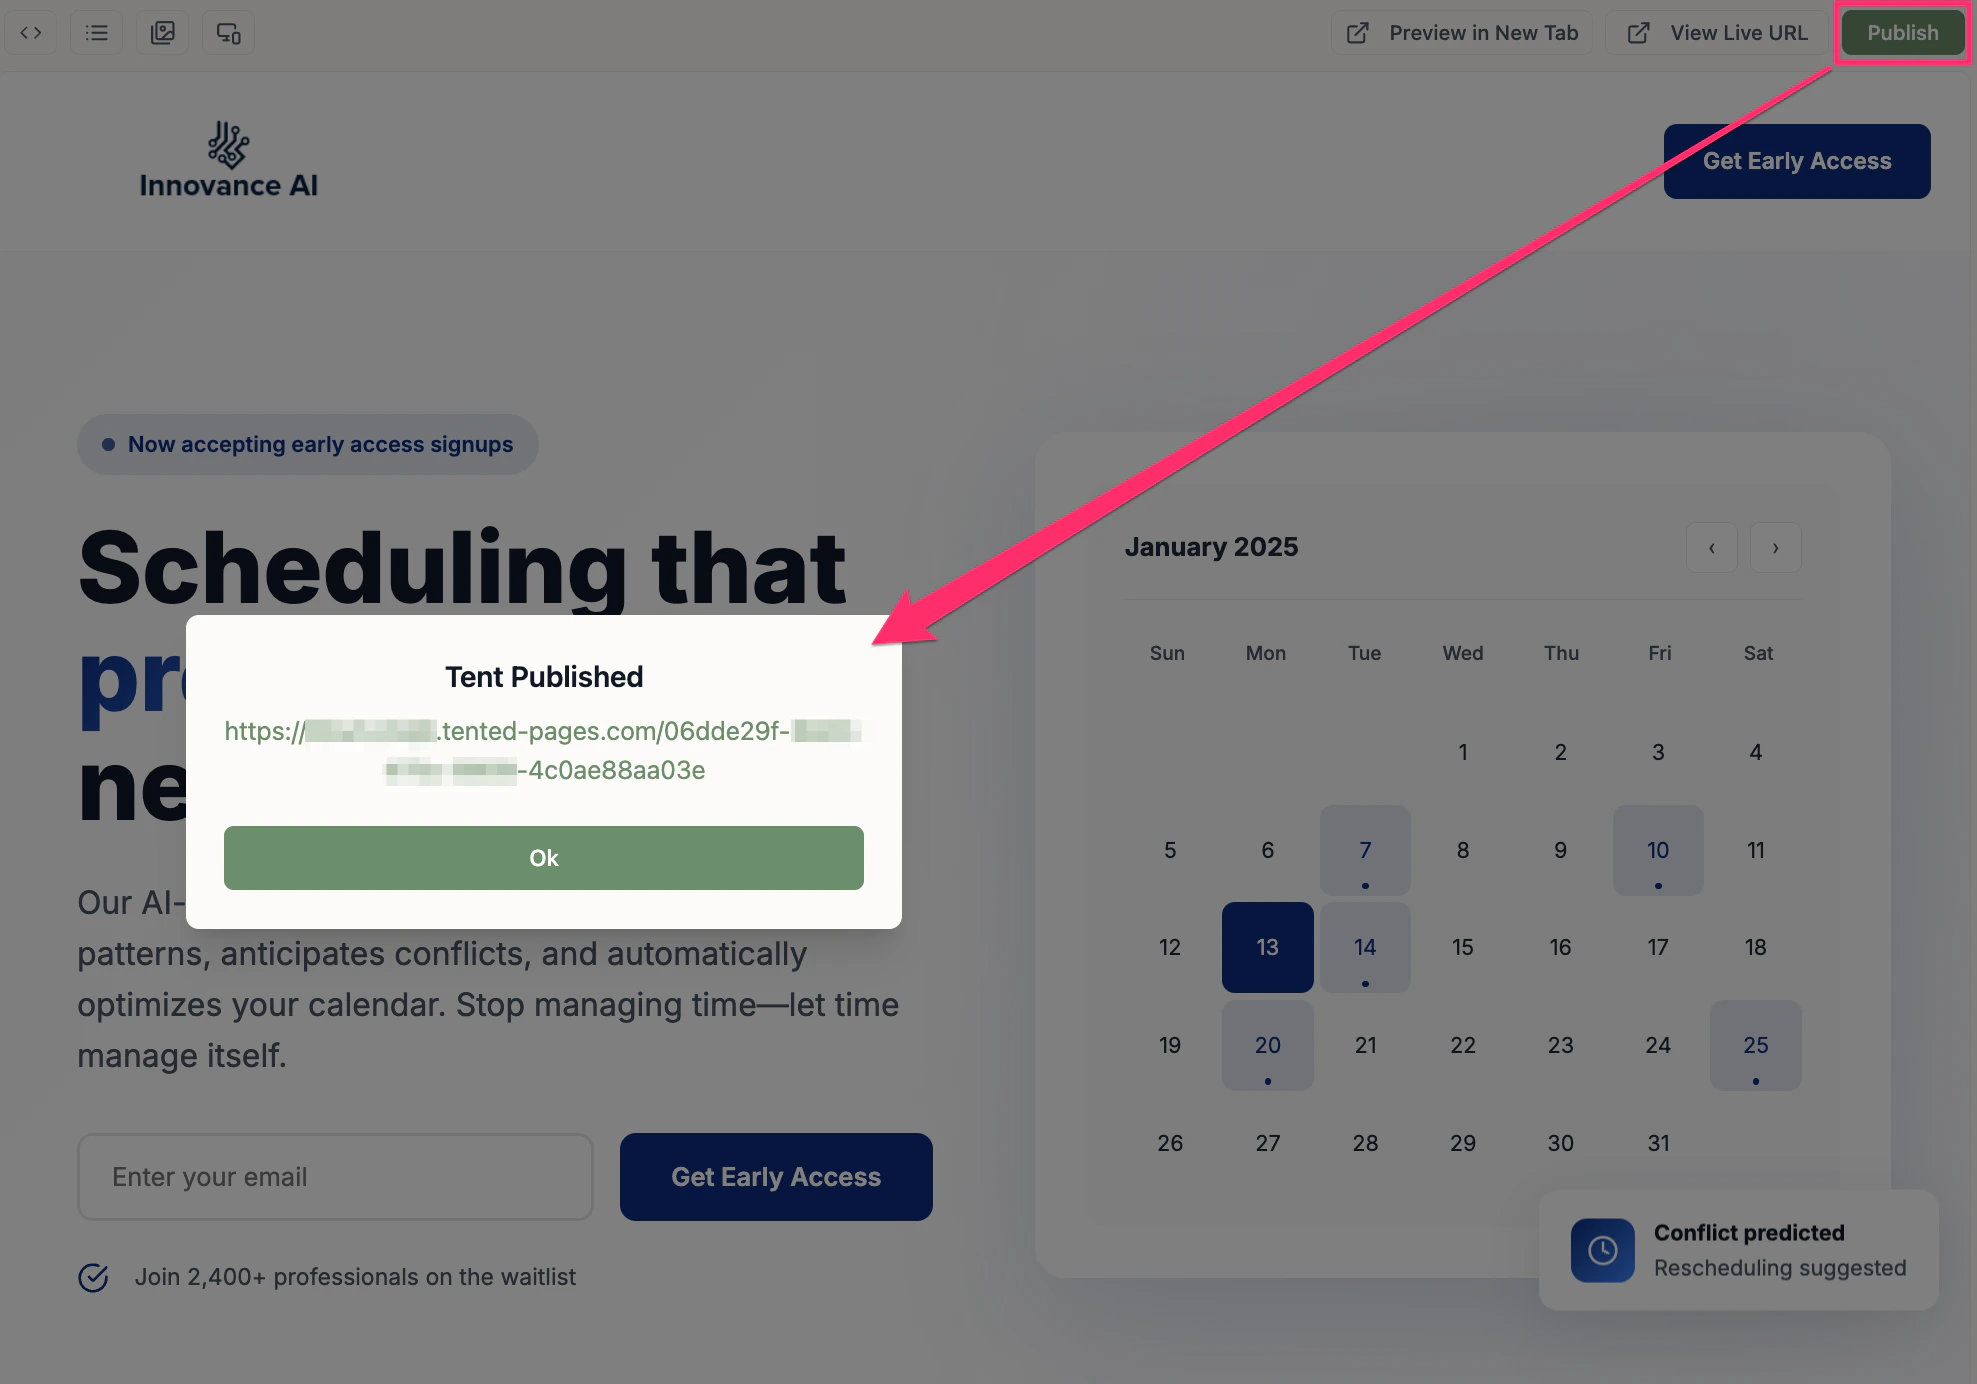
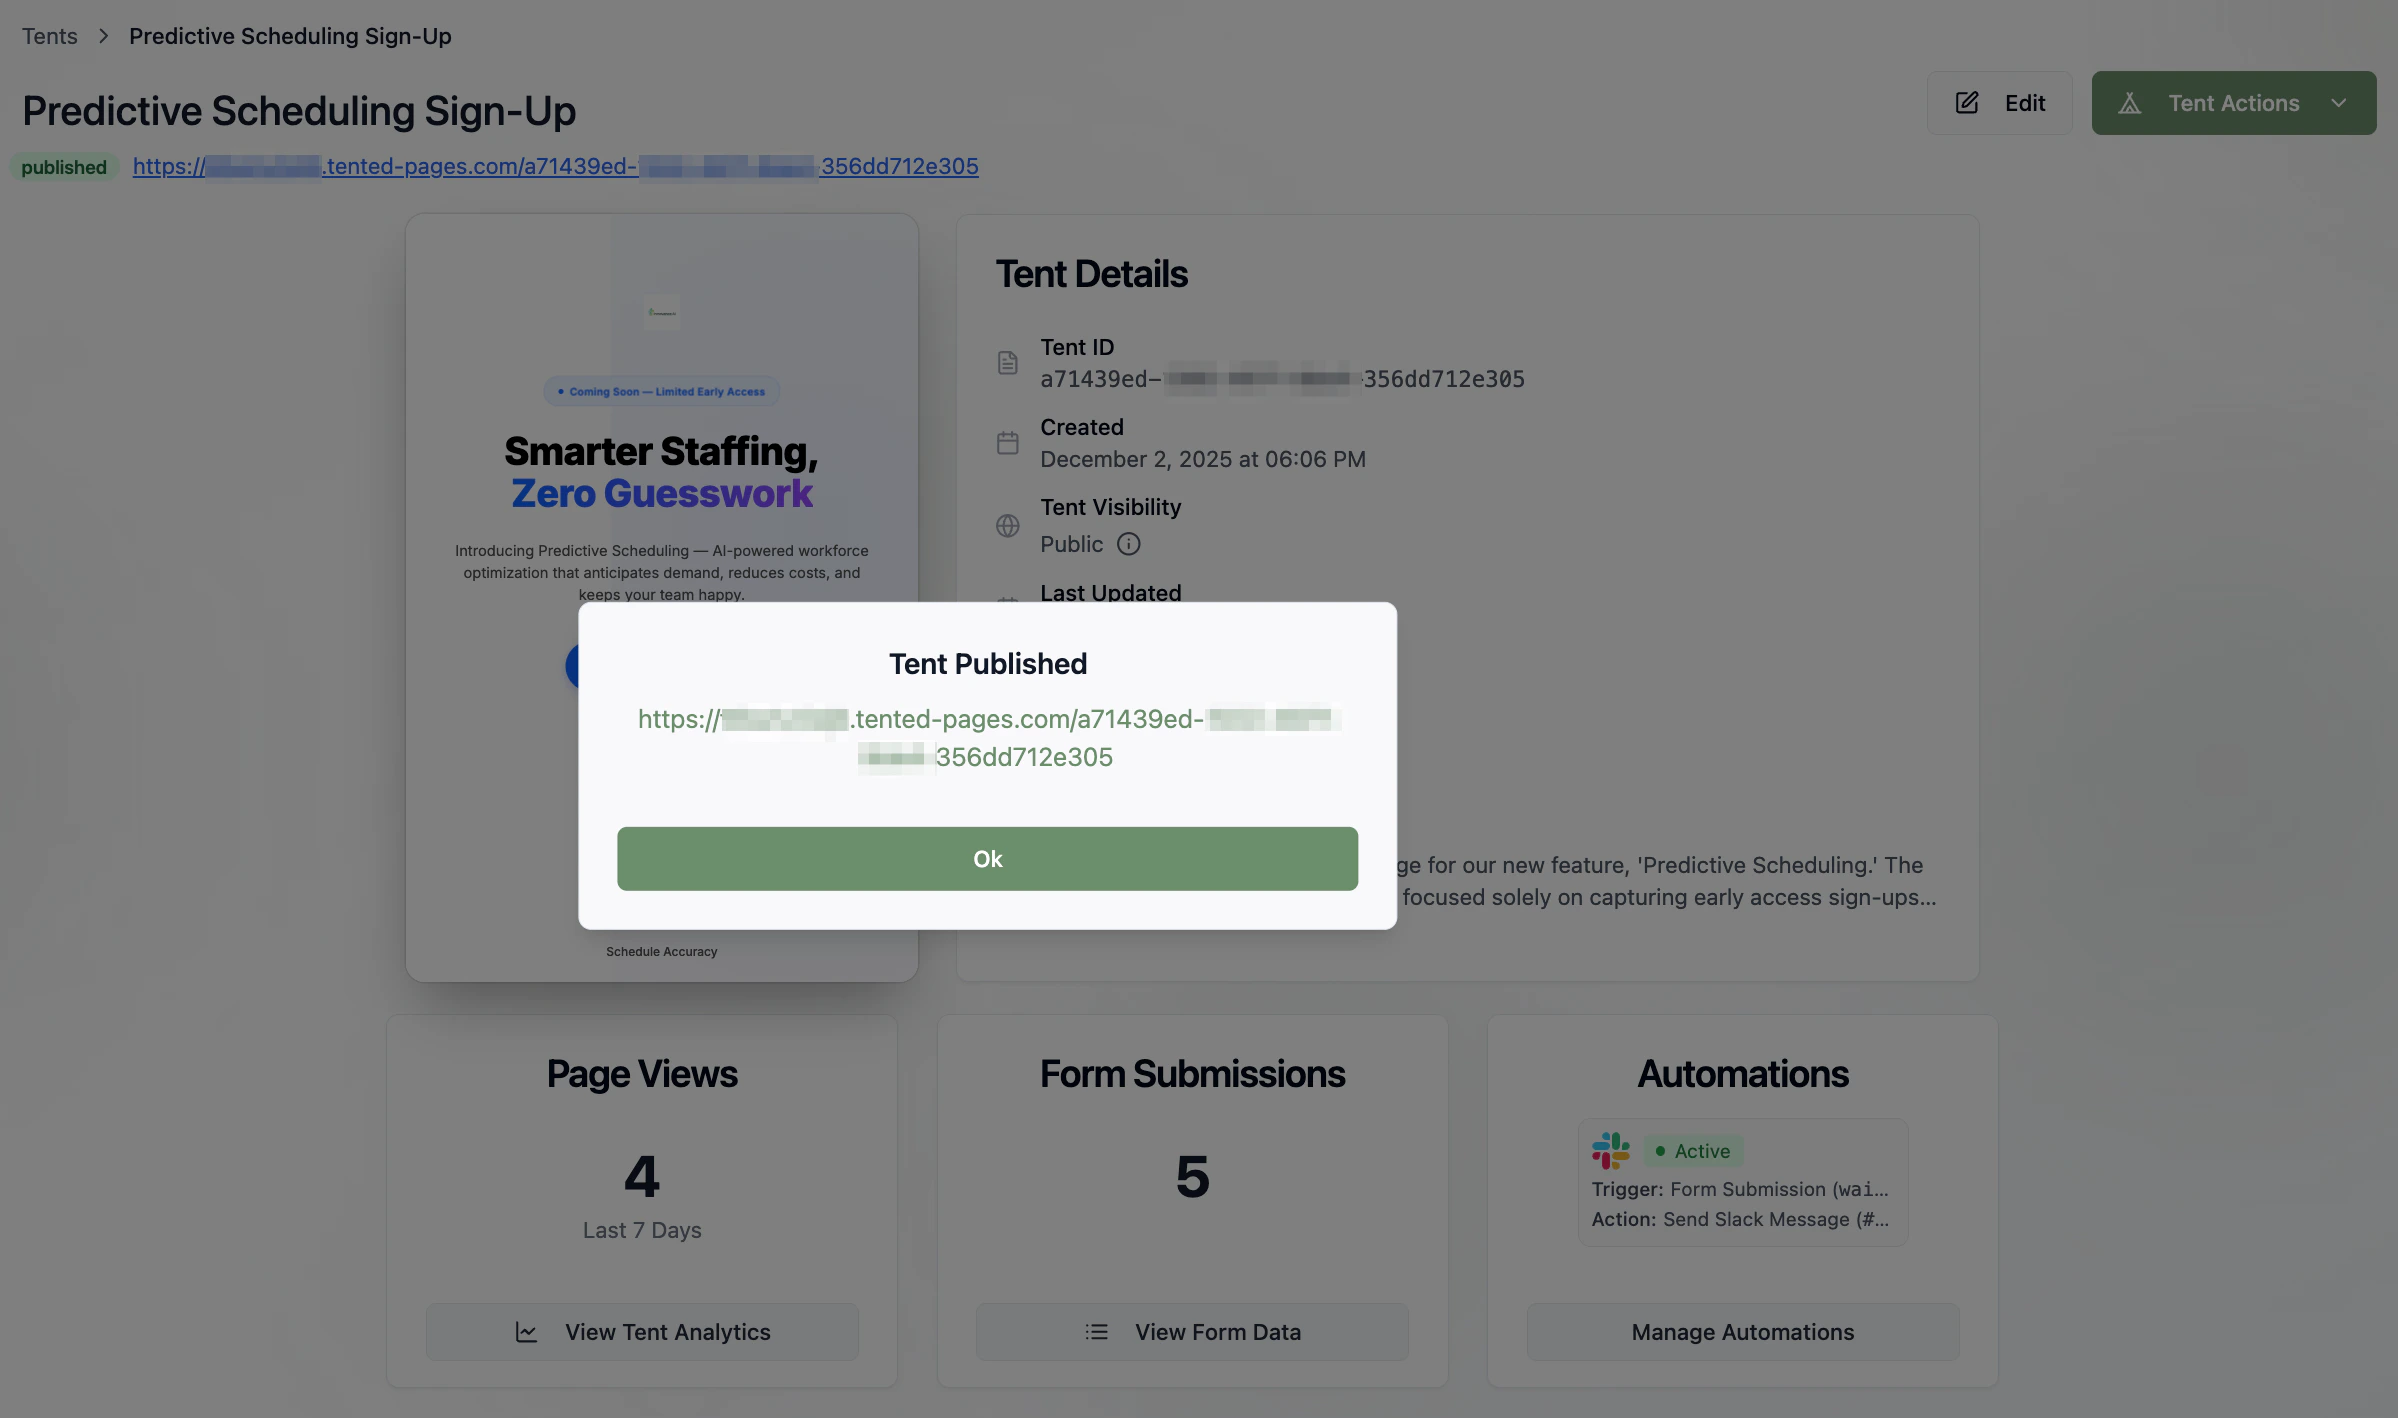
- Wait for the publishing process to complete.
- Copy the live URL provided.
- Click OK to finish.
-
Select Tent Actions > Publish at the top right.
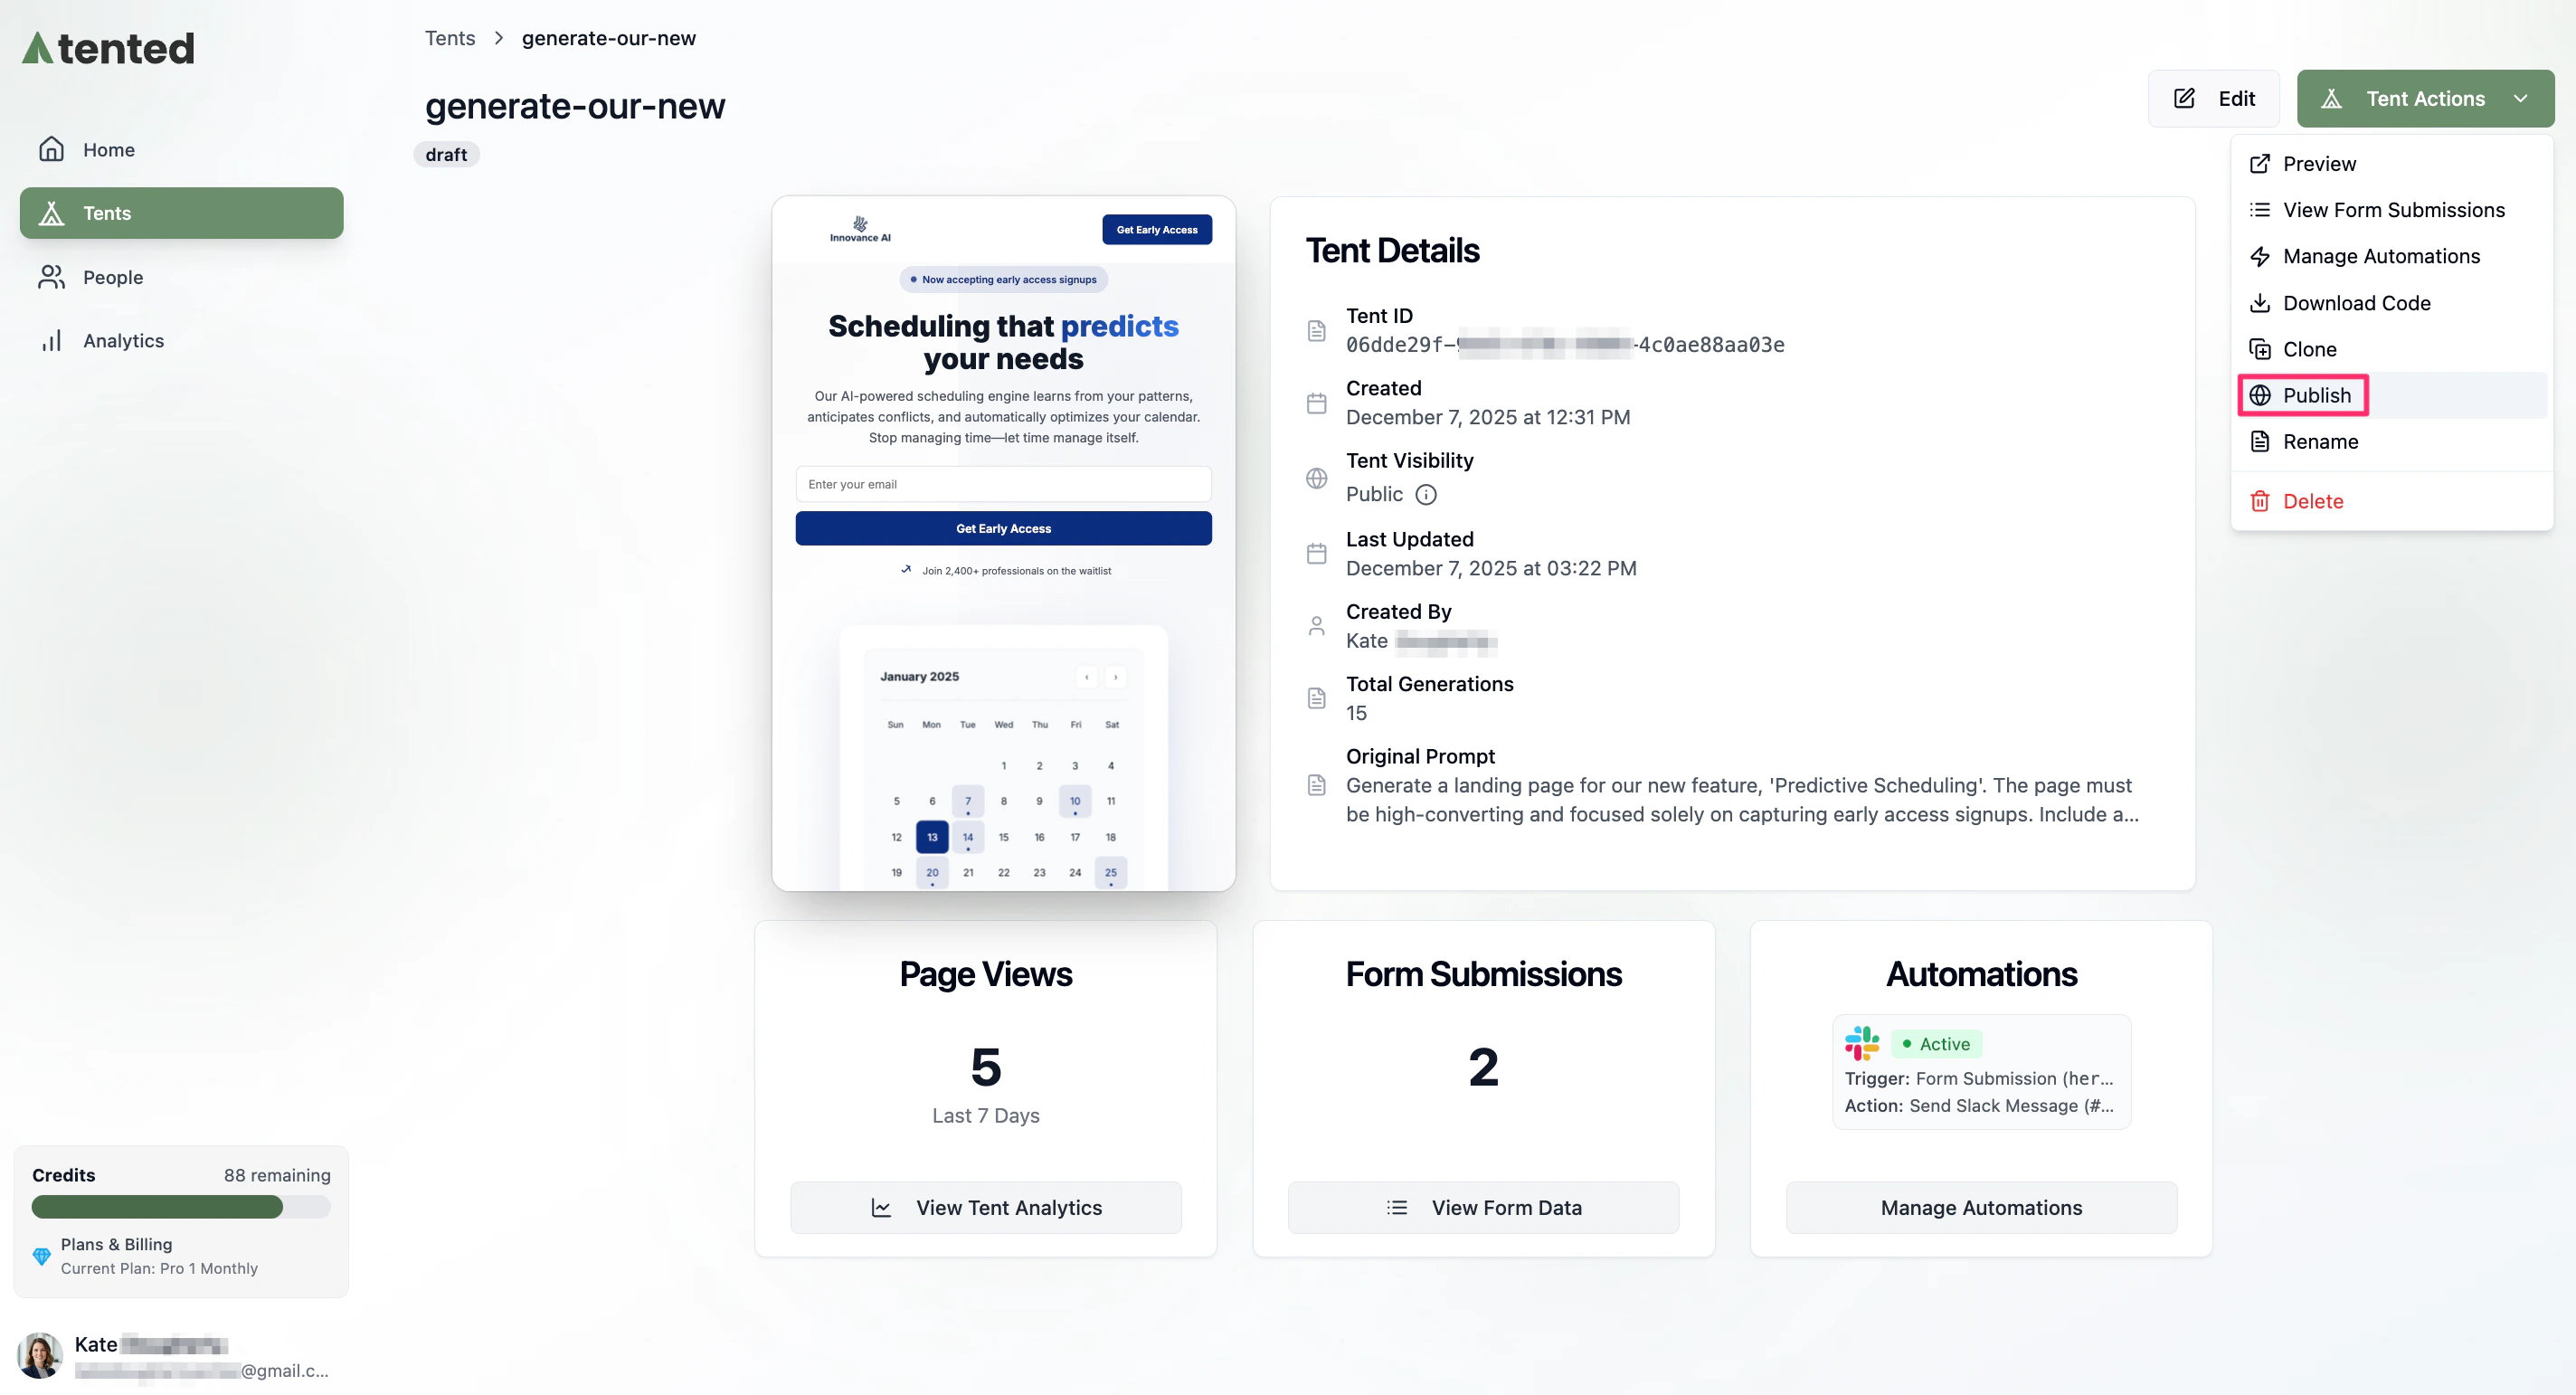
- Confirm publishing in the dialog box.
- Wait for the publishing process to complete.
- Copy the live URL provided.
-
Click OK to finish.
About Domains and URLs
When you publish a tent, you can choose from three domain options for your tent’s URL:Default Domain
Default Domain
Your tent gets a unique URL on the tented.ai domain:
- Format:
https://[workspace-slug].tented-pages.com/[unique-id] - SEO-friendly URLs
- SSL certificate included
- Global CDN for fast loading
Custom Subdomain
Custom Subdomain
Use your own subdomain (coming soon):
- Format:
https://yourname.tented-pages.com/[unique-id] - Branded URL structure
- Easy to remember and share
- Professional appearance
Custom Domain
Custom Domain
Use your own domain with DNS redirects:
- Point your domain to tented.ai
- Maintain your brand identity
- Professional custom URLs
- Full control over domain
Publishing Updates
When you publish updates to an existing tent, several key components remain stable to ensure continuity. Specifically, your tent URL remains unchanged, all form submission data is preserved, analytics data continues tracking seamlessly, and your existing SEO rankings are maintained. This continuity allows you to update your content without disrupting performance metrics or accessibility.Next: Viewing Form Submissions
Learn how to view, manage, and export form submission data.