Tent Management Overview
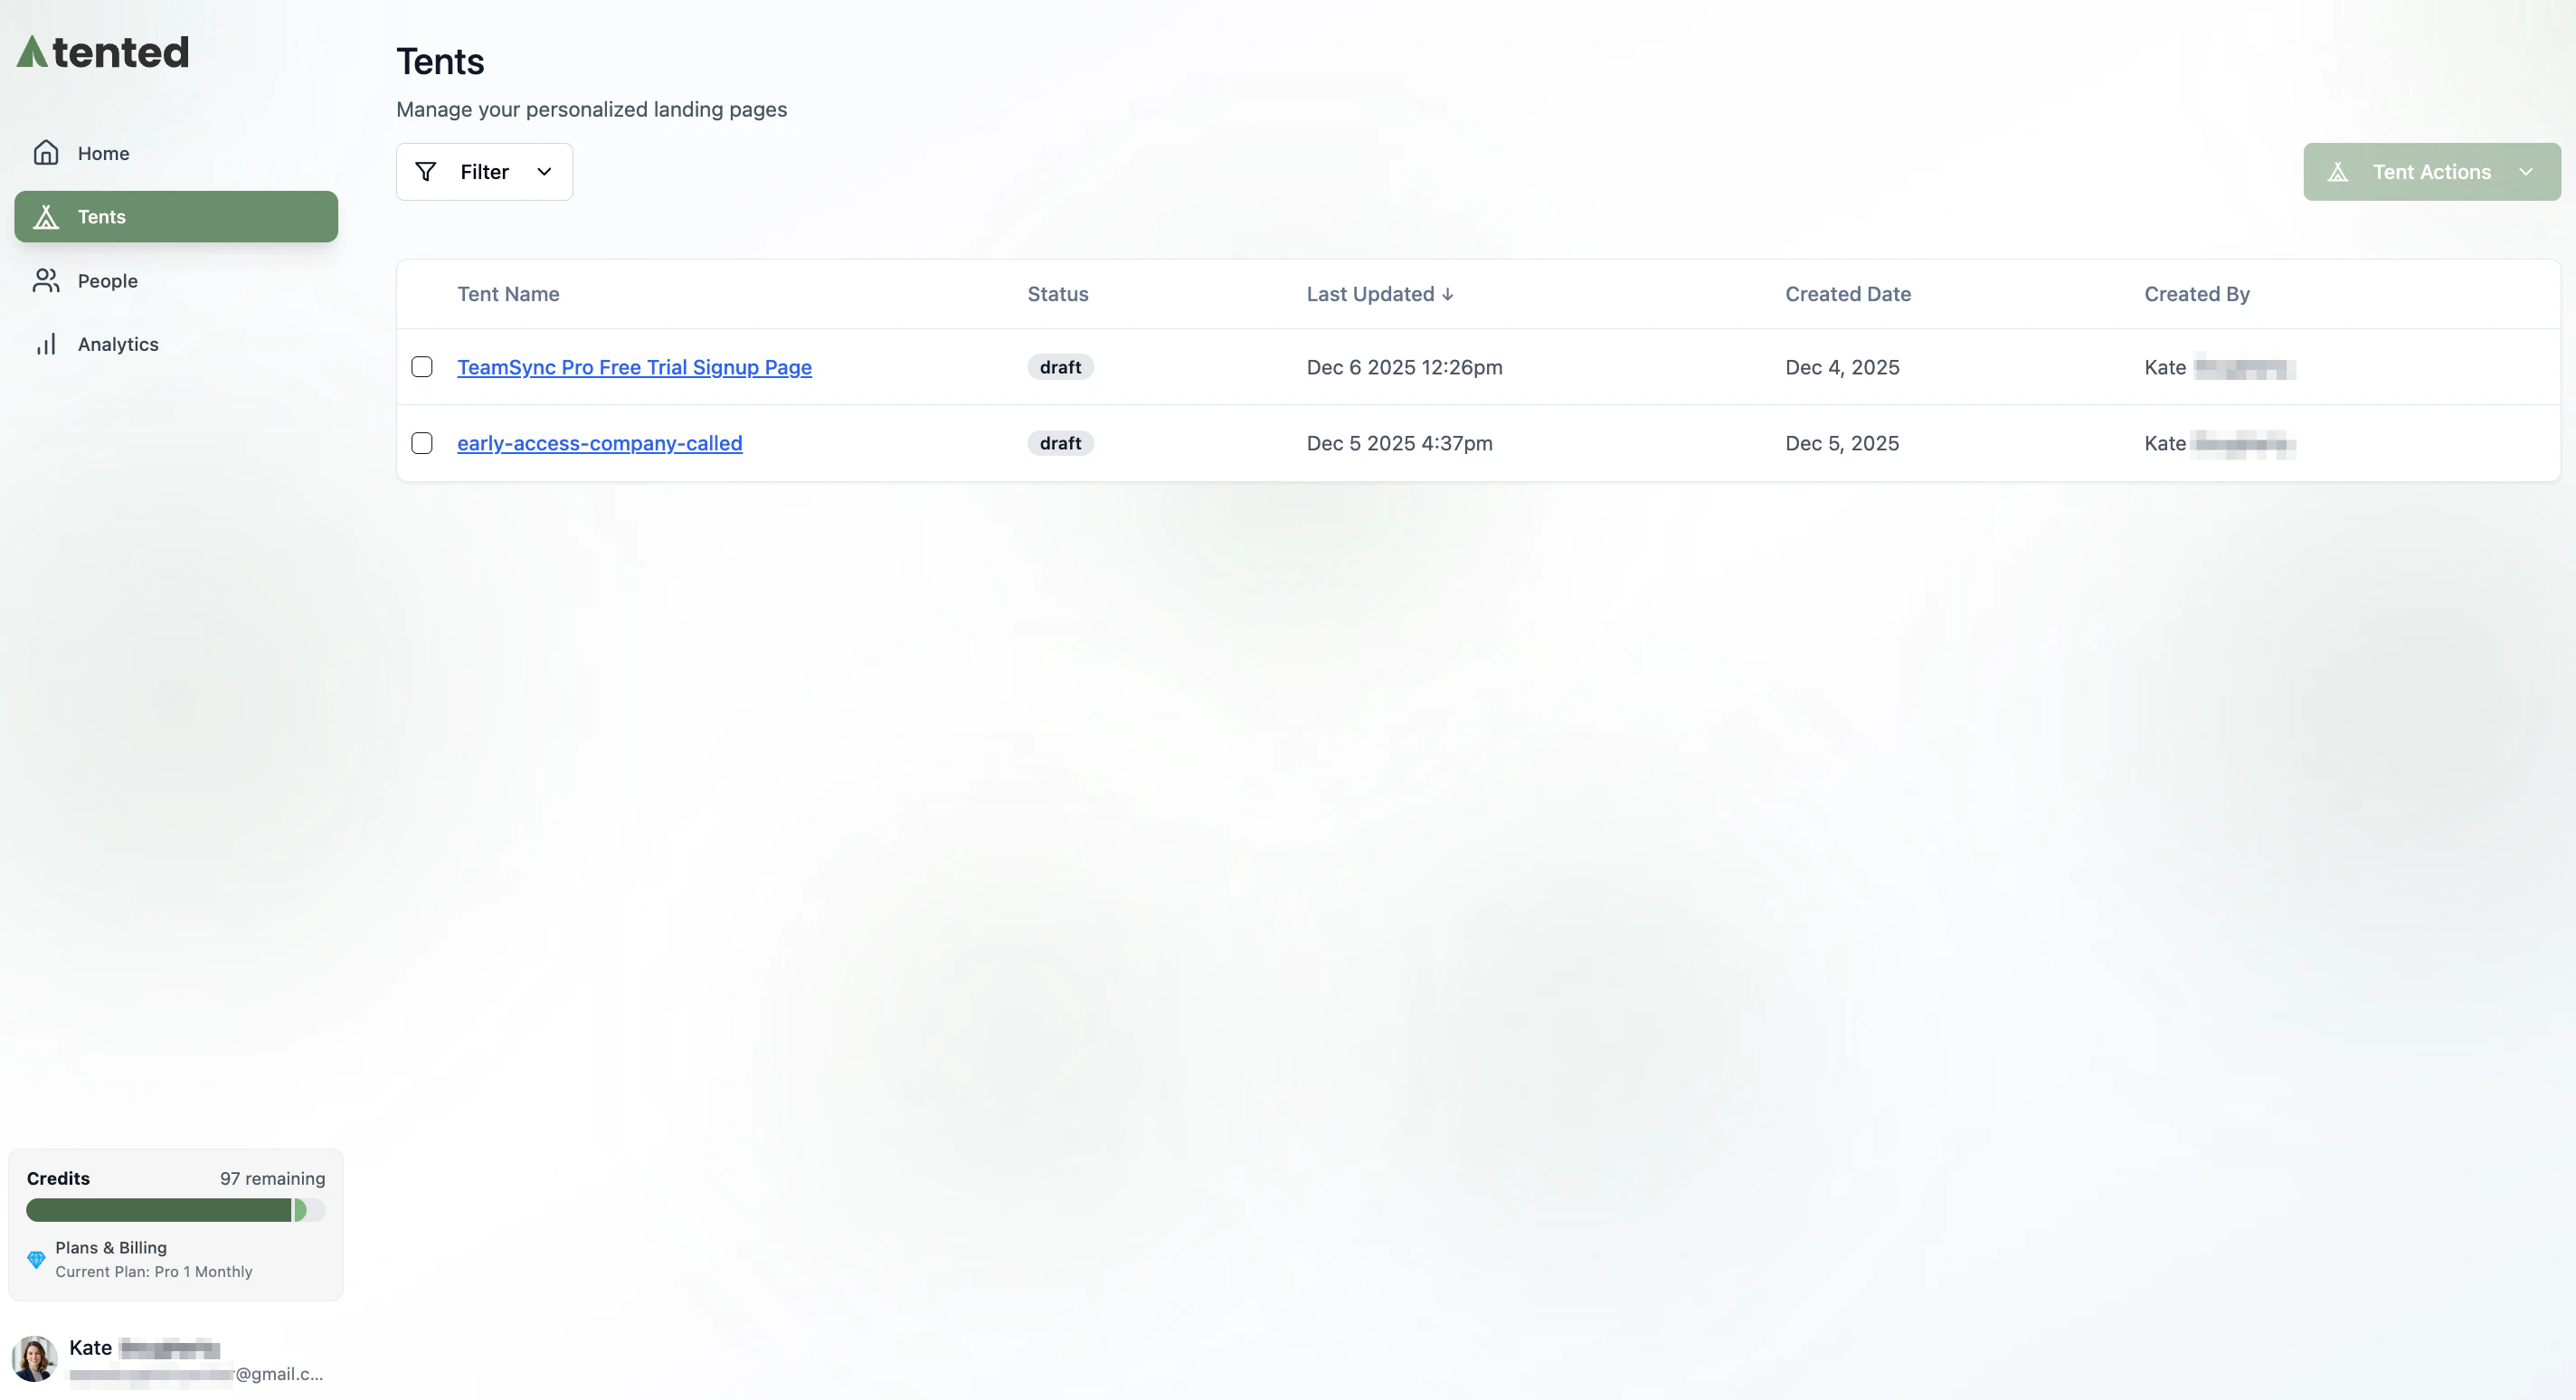
Managing your tents effectively is crucial for maintaining an organized workspace and optimizing your landing page campaigns. Tented provides tools for all aspects of tent lifecycle management. You can find all of your tents in the Tents page of your workspace. The list on this page includes their status, last updated date, and creation date. If you have many tents, you can use the search and filter options to quickly find the tent you need.- Sort by: Tent Name, Last Updated, and Created Date
-
Filter by status: Any, Draft, Published
Basic Tent Operations
Renaming Tents
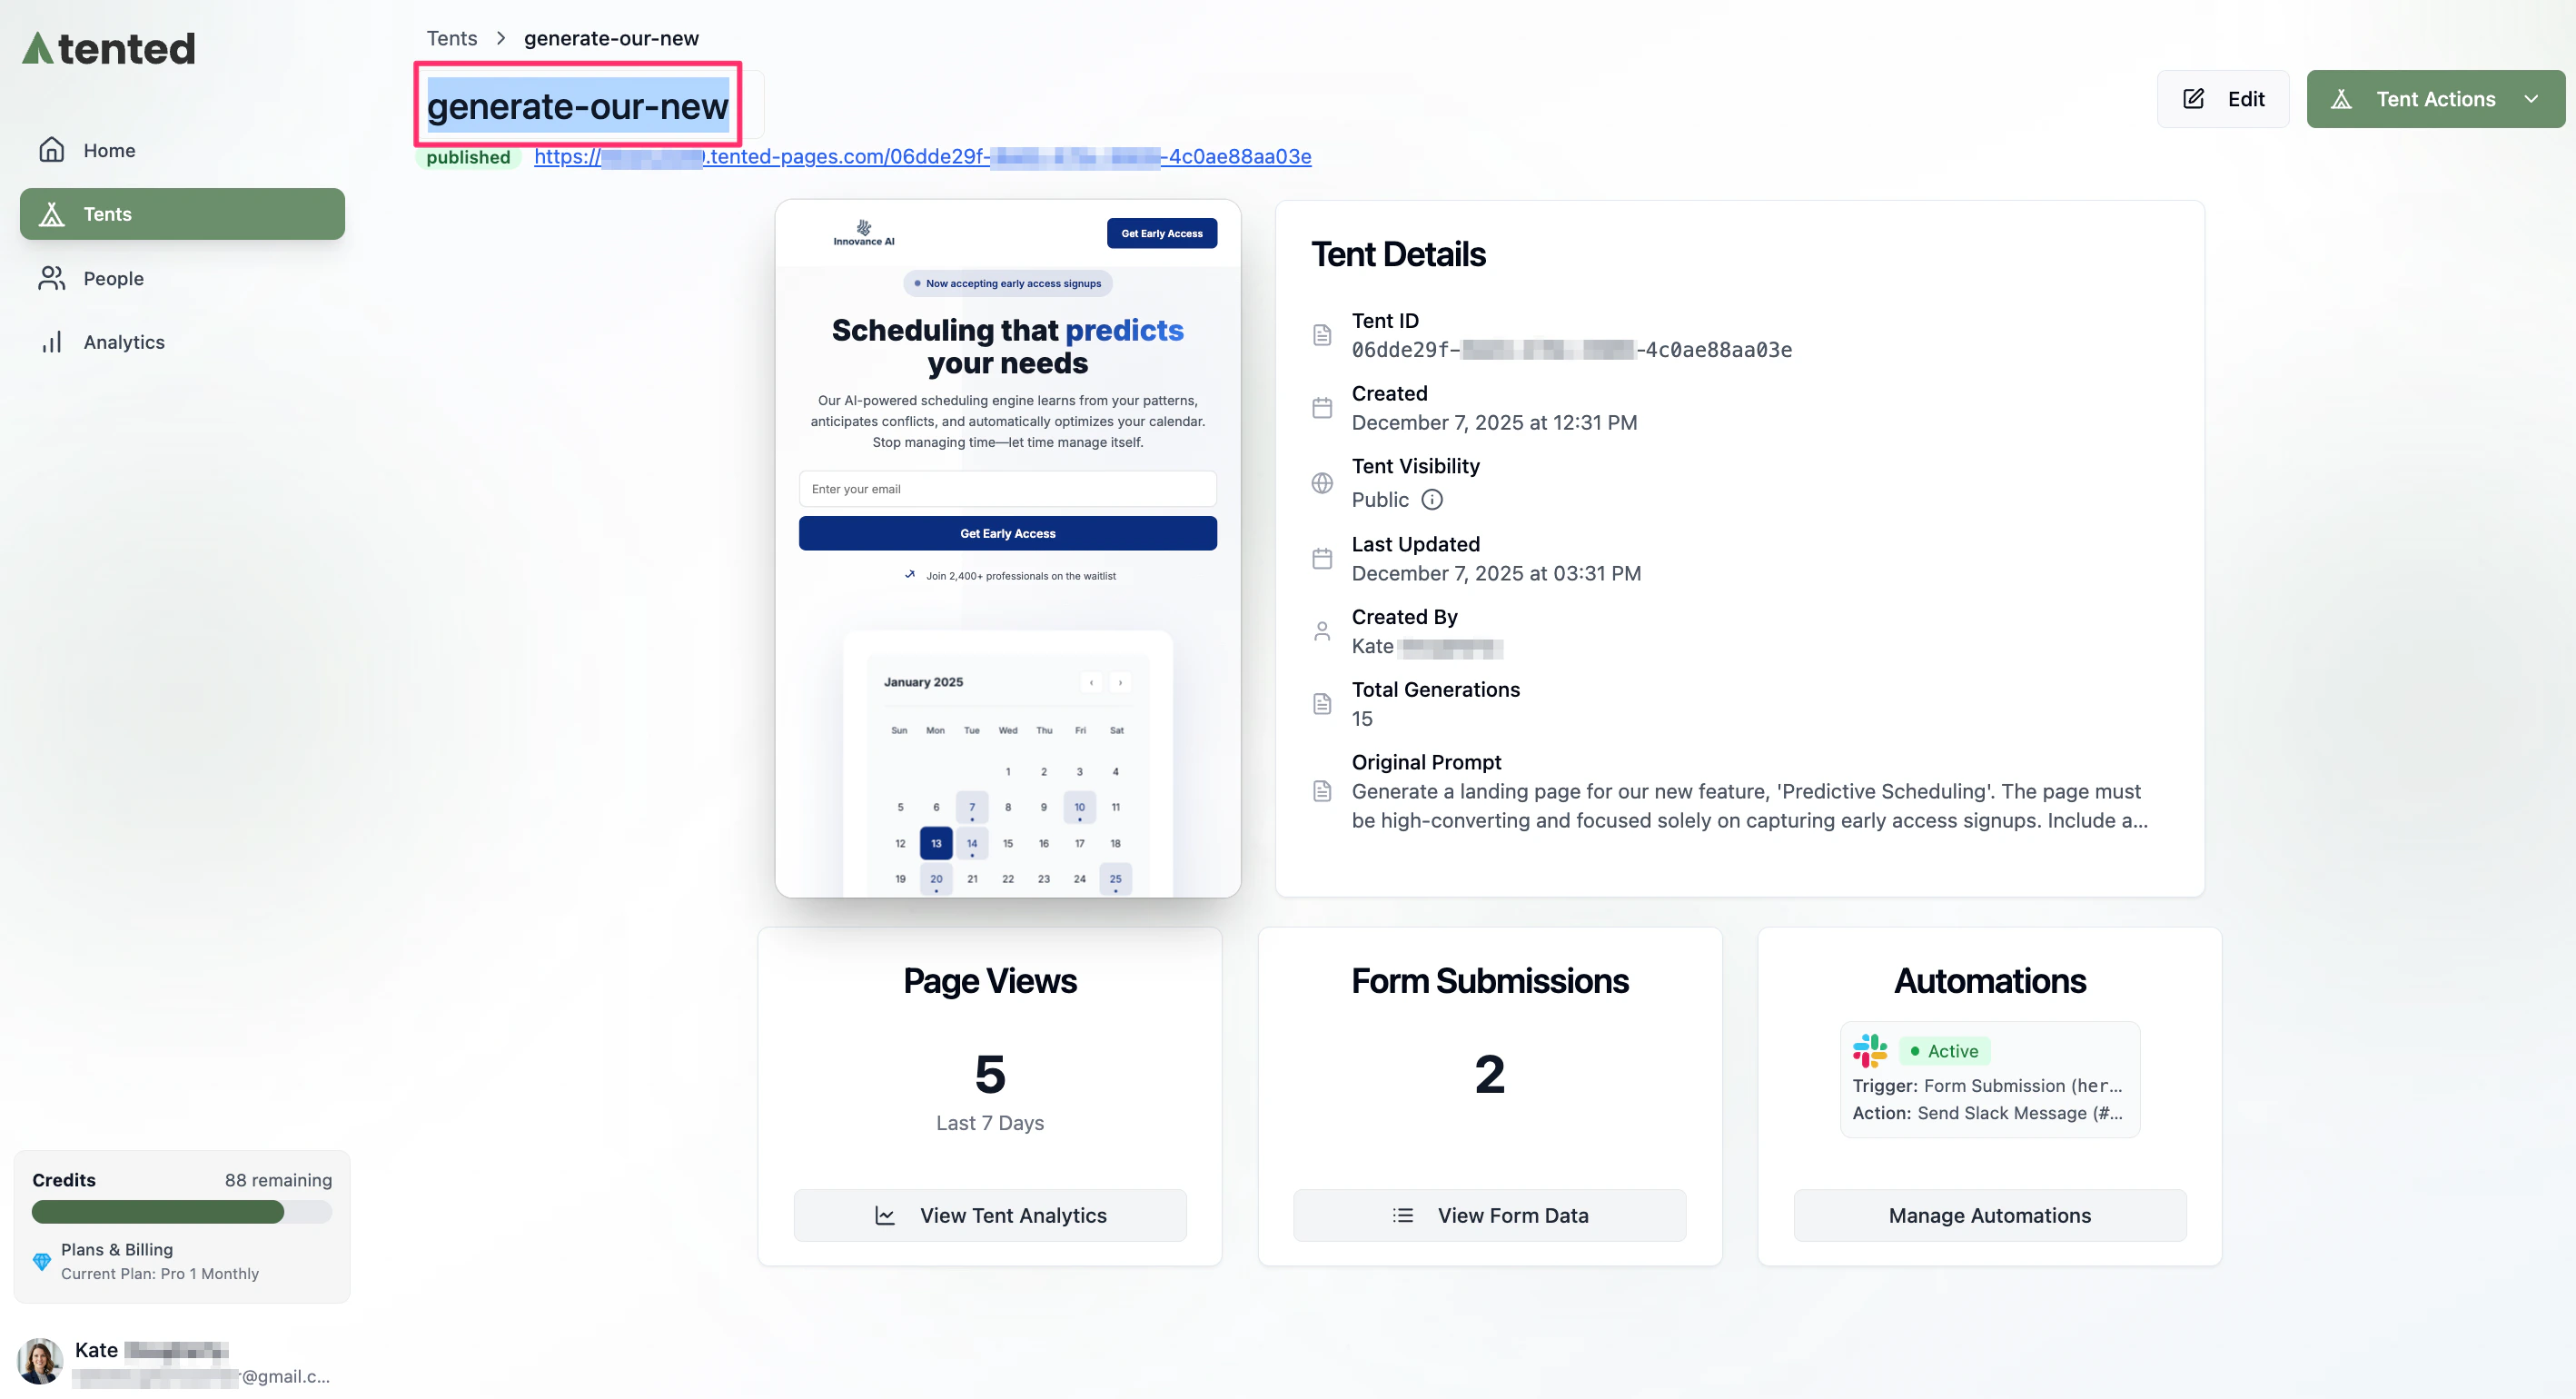
You can change the autogenerated name for a tent to better reflect its purpose or campaign association. This option is available from multiple locations within the Tented interface. From the tent editor or Tent Details page:- Double-click on the tent name to make it editable.
- Type the new name.
- Press Enter/Return or click outside the field to save your change.
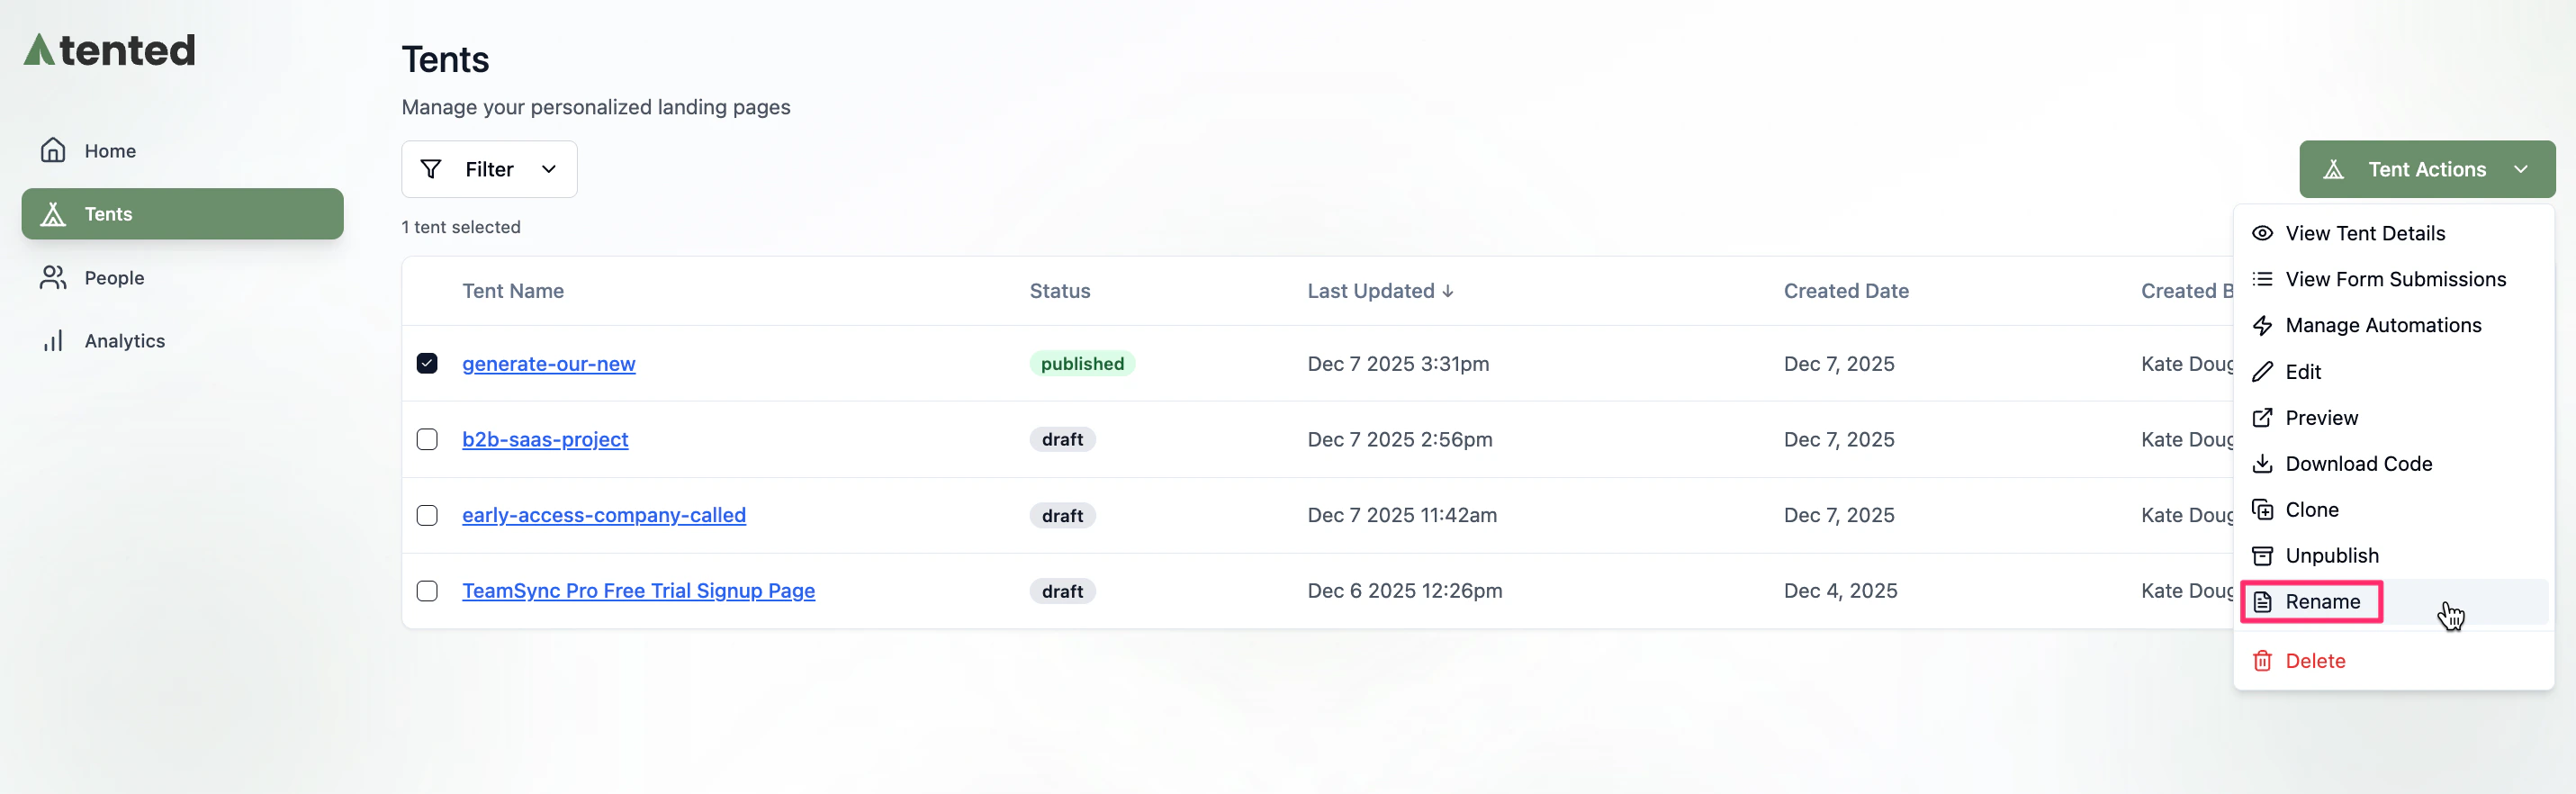
- Navigate to the Tents page.
- Select the checkbox next to the tent name.
- Click Tent Actions > Rename at the top right.
- In the Rename Tent window that opens, type the new name and click Save.
Deleting Tents
If you no longer want to keep a tent in your account, you can delete any tent regardless of its status. Keep in mind that if you’ve shared the live URL of a published tent, that it will no longer be available on the internet when you delete it. If you’re ready to delete, follow these steps. From the Tent Details page:- Click Tent Actions > Delete at the top right.
- Confirm the deletion in the dialog box.
- Navigate to the Tents page.
- Select the checkbox next to the tent name.
- Click Tent Actions > Delete at the top right.
- Confirm the deletion in the dialog box.
- Tent code and content
- Generation history
- Form submission data
- Analytics data
- Published URL (becomes inactive)
Cloning Tents
You can clone a tent to create variations of your landing page for A/B testing, or for other reasons. Here are some other use cases for cloning tents:- Creating variations for different audiences
- Seasonal campaign updates
- Regional or language variations
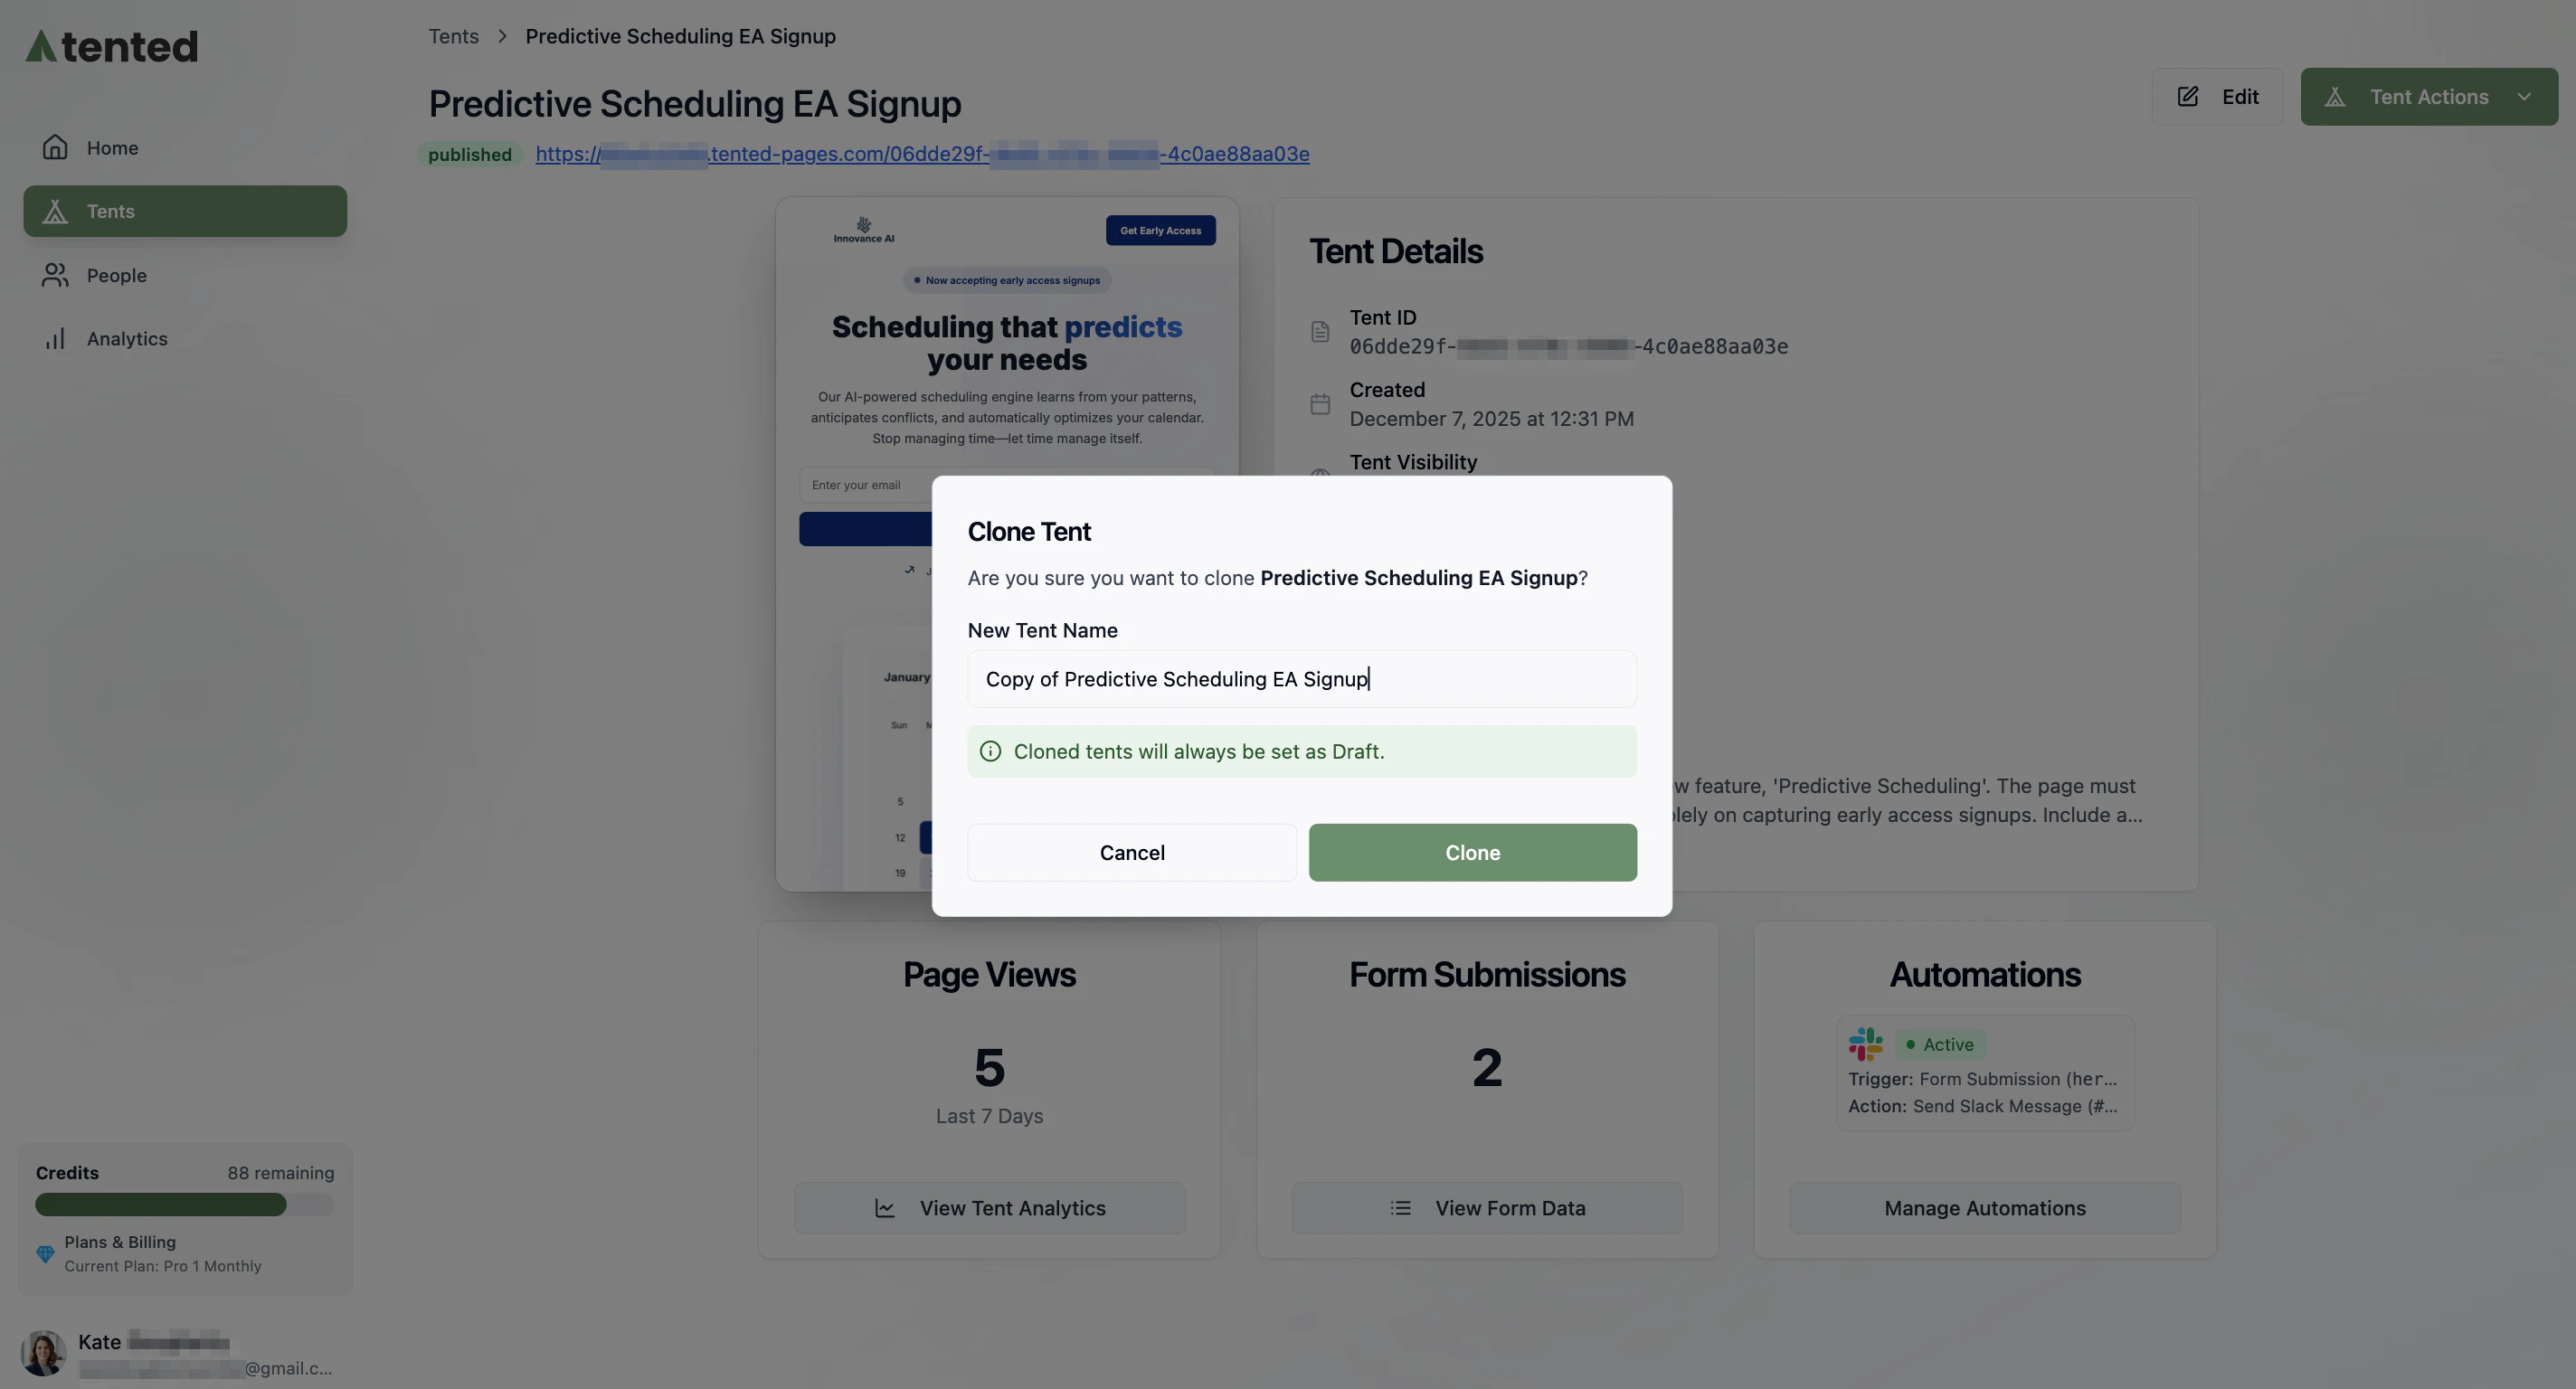
- Click Tent Actions > Clone at the top right.
- In the Clone Tent window, enter a name for the new tent and click Clone.
- Navigate to the Tents page.
- Select the checkbox next to the tent name.
- Click Tent Actions > Clone at the top right.
- Confirm the action in the dialog box.
Publishing Management
Unpublishing a Tent
A tent can be unpublished at any time so that it’s no longer available on the web. From the Tent Details page:- Select Tent Actions > Unpublish at the top right.
- Confirm that you want to unpublish the tent.
Data Management
Viewing and Exporting Tent Data
For information on form submission data and analytics, see:Next: Workspace Settings
Learn how to configure workspace settings and preferences.