Emails, the Tented way
If you’ve built a tent, you already know how to build an email: describe what you want, iterate in chat, and watch the preview update live. Every email Tented generates uses battle-tested HTML — bulletproof tables, MSO conditionals for Outlook, dark-mode hooks — so it renders cleanly across Gmail, Outlook, Apple Mail, Yahoo, and friends.Create your first email
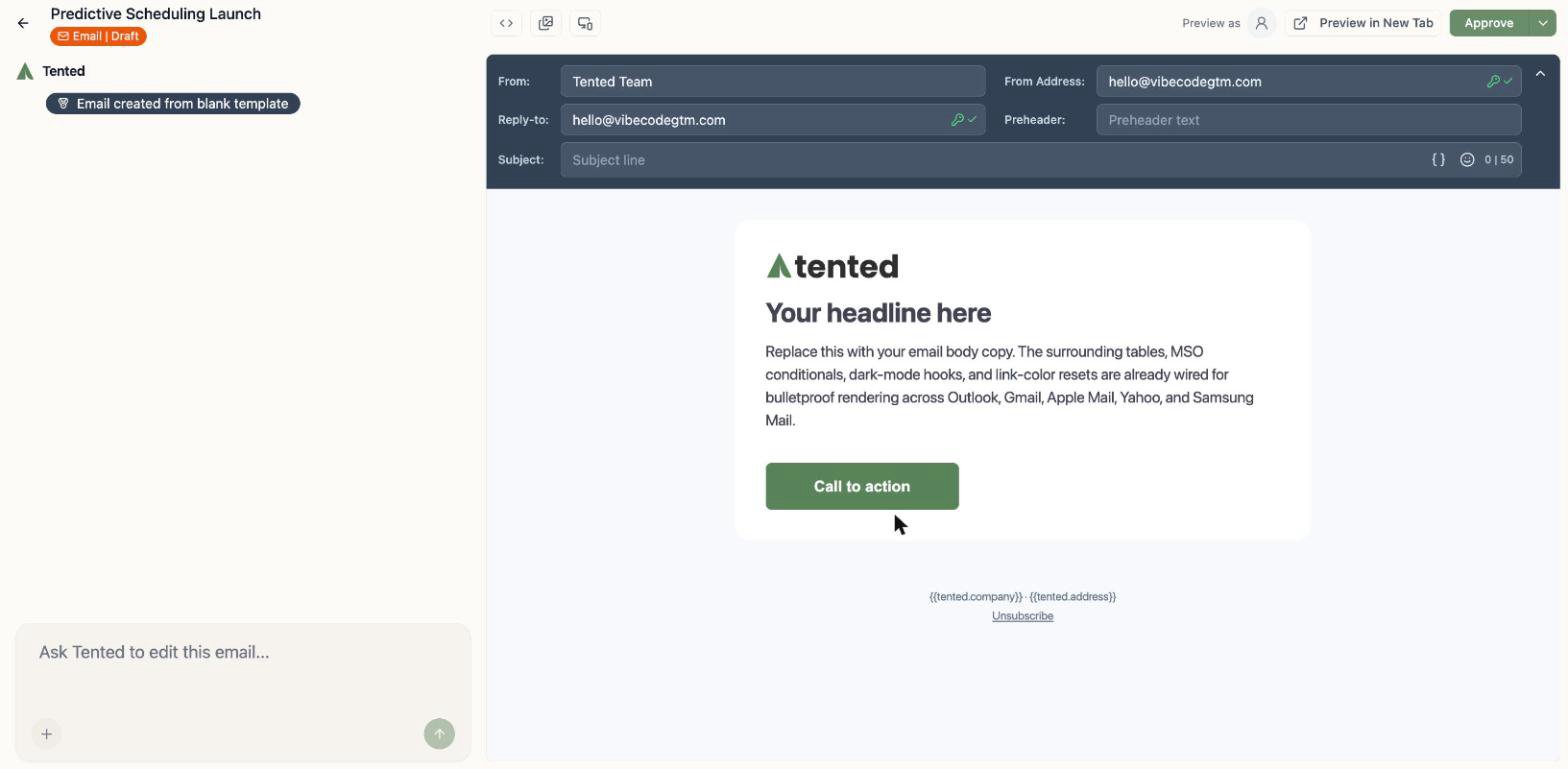
- Go to Email in the sidebar.
- Click Add > Create Email.
- Name your email, and optionally pick an approved template as your starting point.

Ask for what you want
Describe the email in the chat box, the same way you’d brief a colleague:“Write a friendly launch announcement for our new feature ‘Predictive Scheduling’. Include a hero headline, 3 short benefit bullets, and a call-to-action button linking to our site. Personalize the greeting with the recipient’s first name.”

Edit sections directly
Hover over any part of the email and you’ll see Click to edit — handy for quick text tweaks without a round-trip through the AI.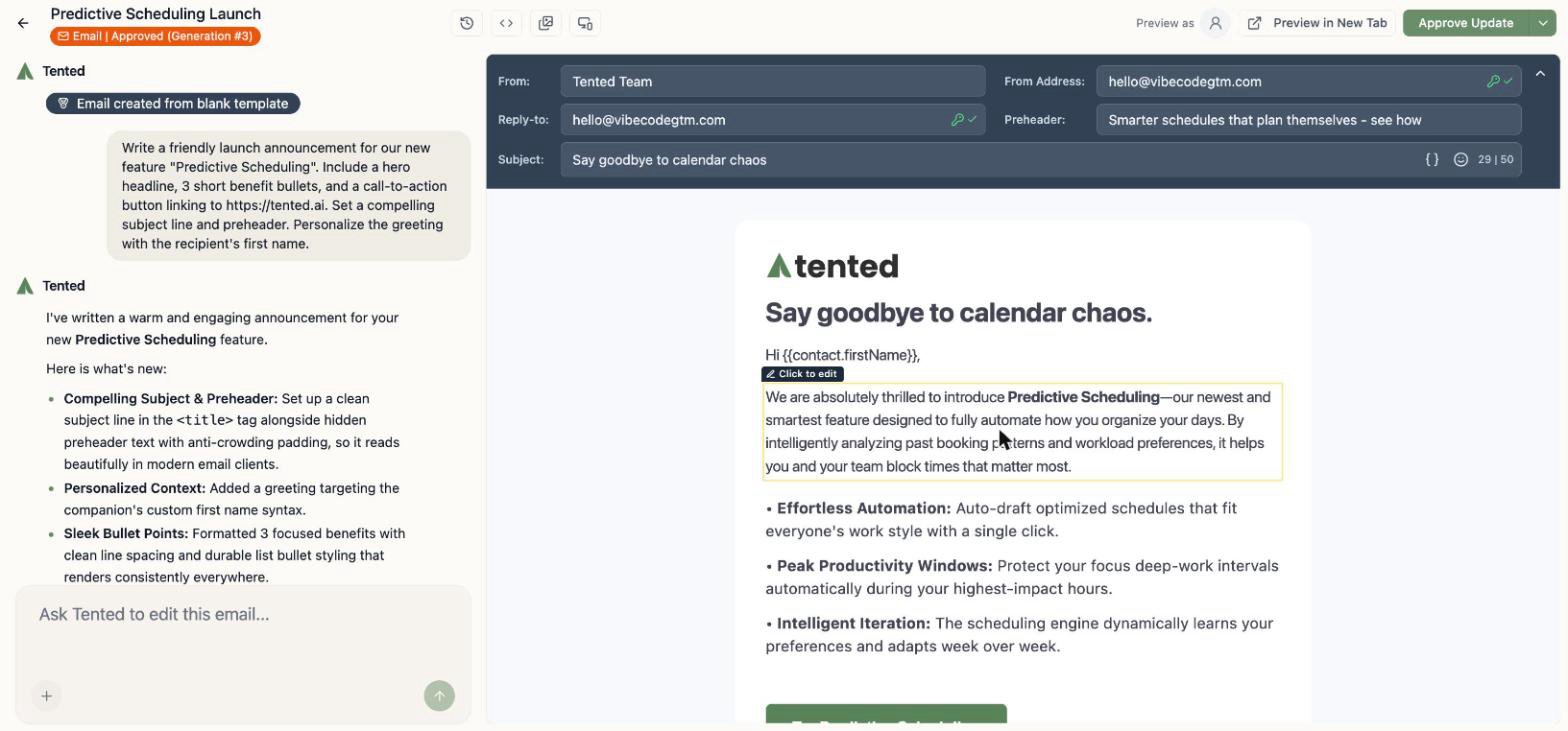
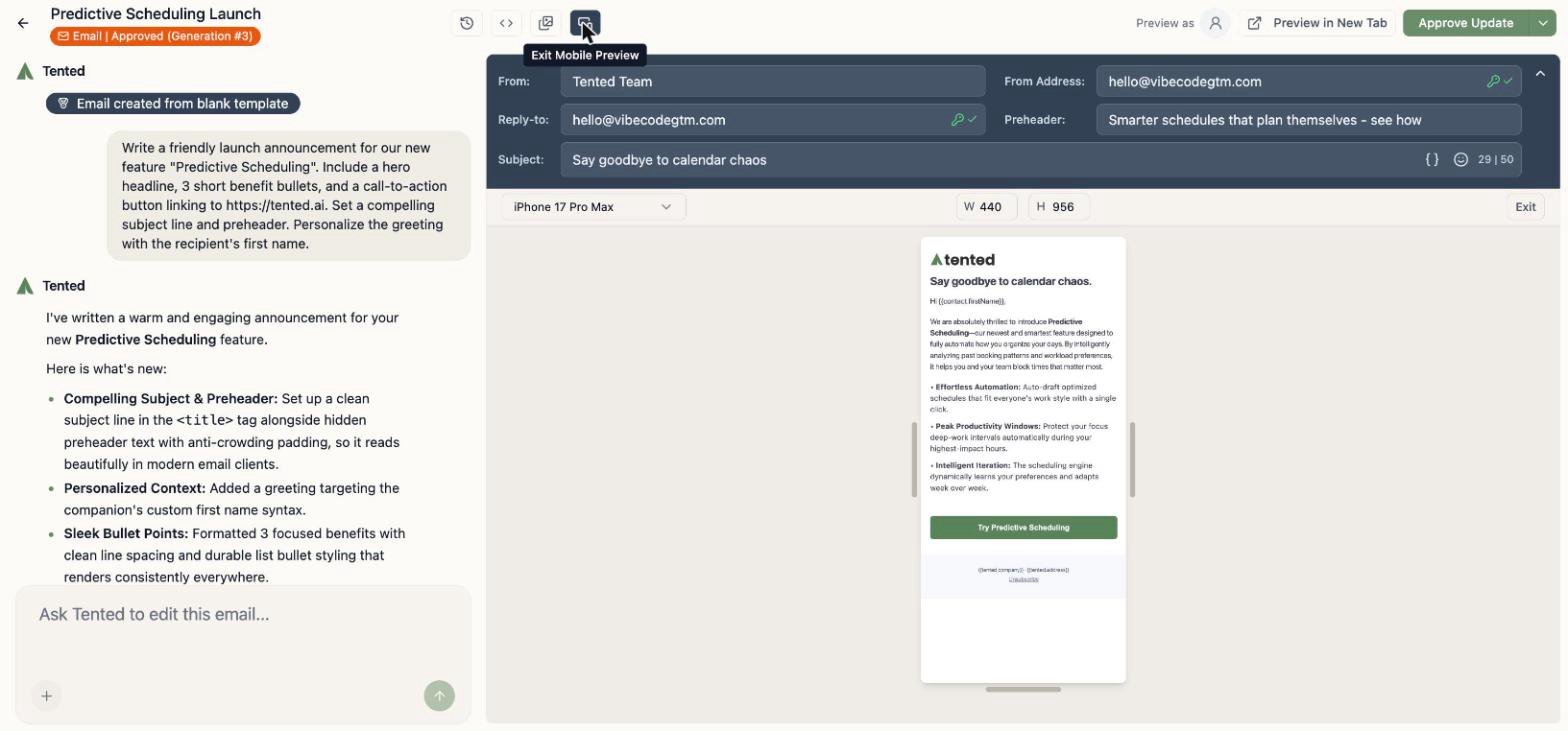
Subject lines, preheaders, and personalization
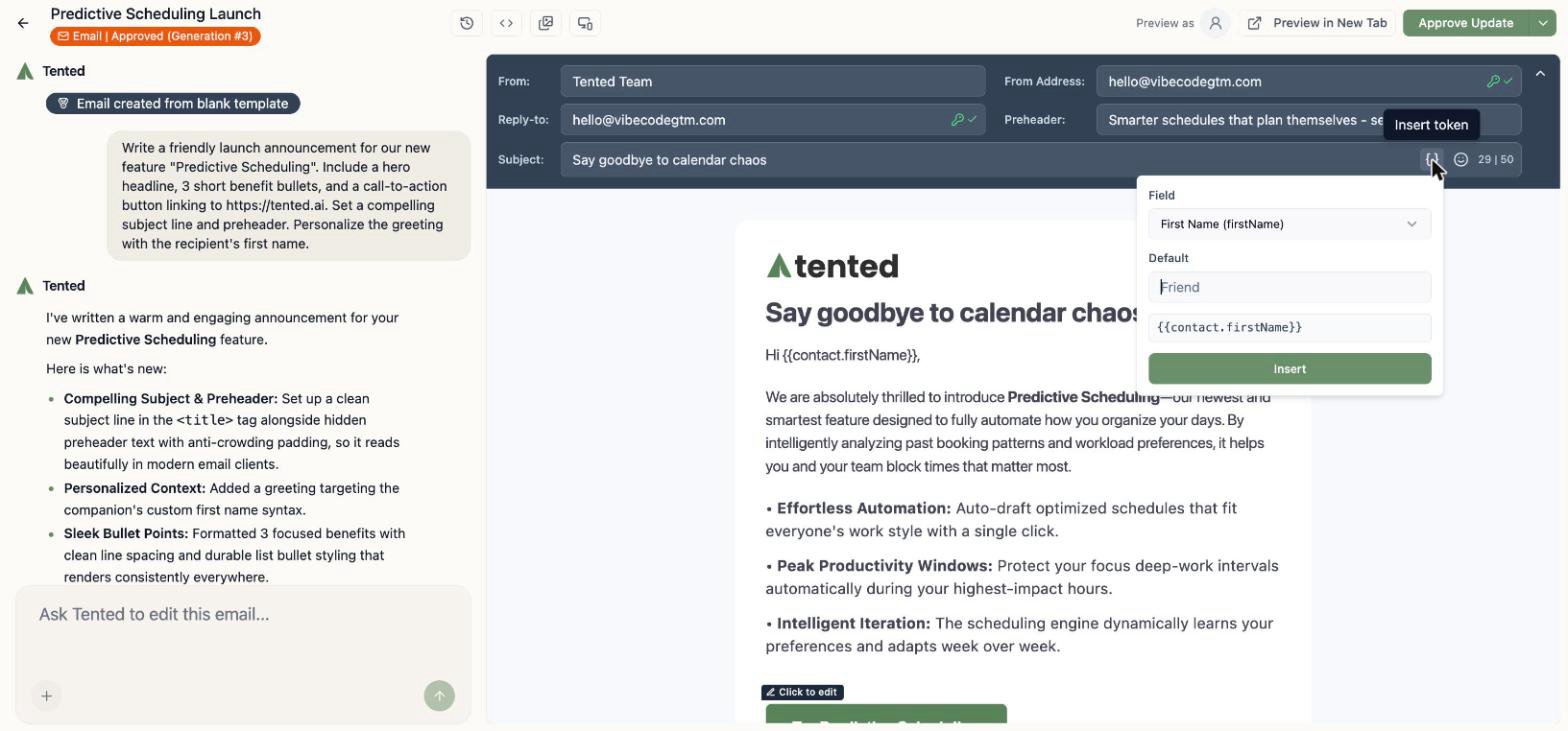
Fill in the Subject and Preheader fields in the header bar. A few niceties built in:- The subject field has a 50-character guide — stay under it and your subject won’t get clipped on mobile.
- The
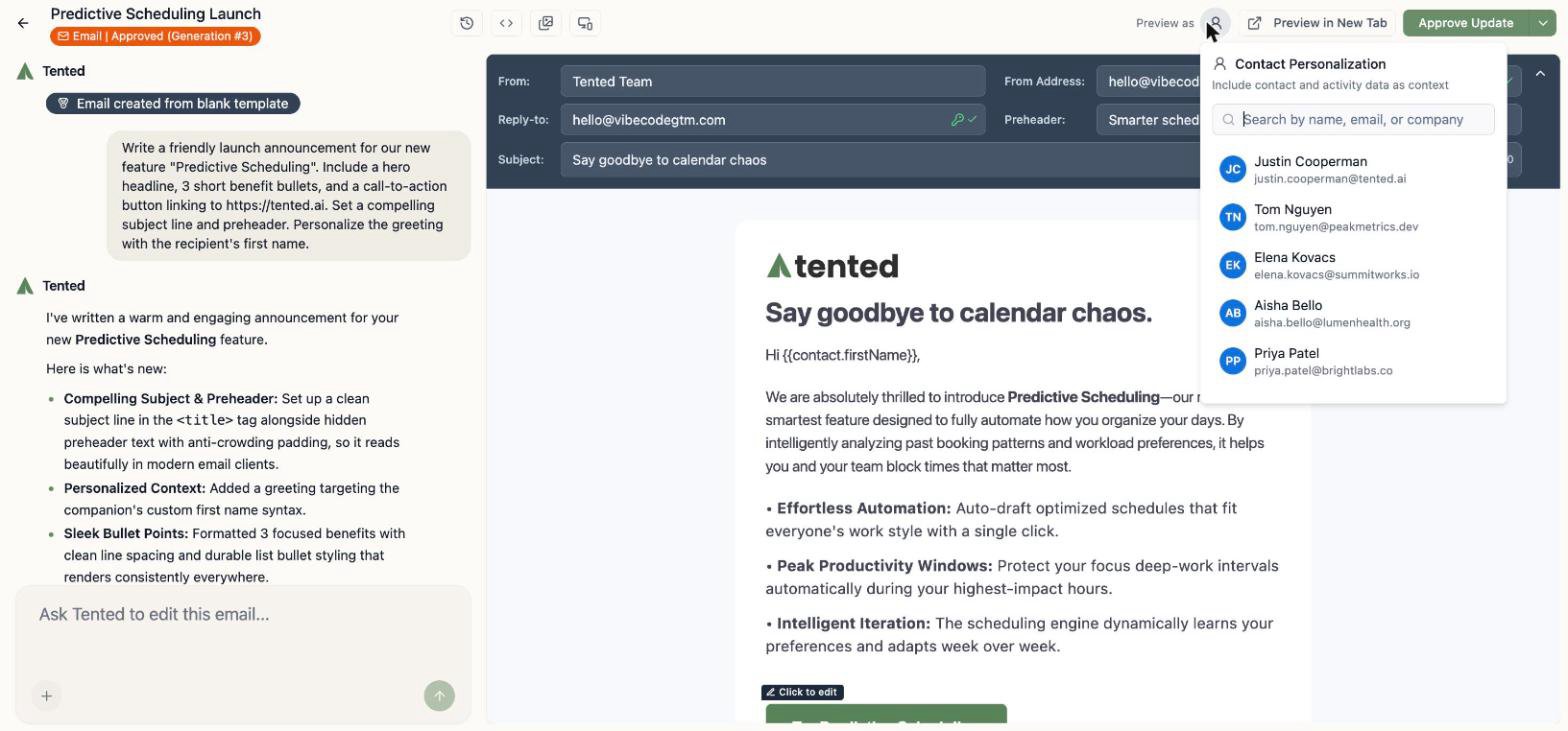
{}Personalize button inserts personalization tokens — any standard or custom contact field, in the form{{contact.firstName}}. They work in the subject, preheader, and anywhere in the body. (Full token reference: Personalization Tokens.) - Tokens resolve to an empty string when a contact is missing the value, so add a fallback for anything visible:
{{contact.firstName:default=there}}renders as “there” when there’s no first name. - Per-email From/Reply-to overrides: any email can use its own sender details instead of the workspace defaults.
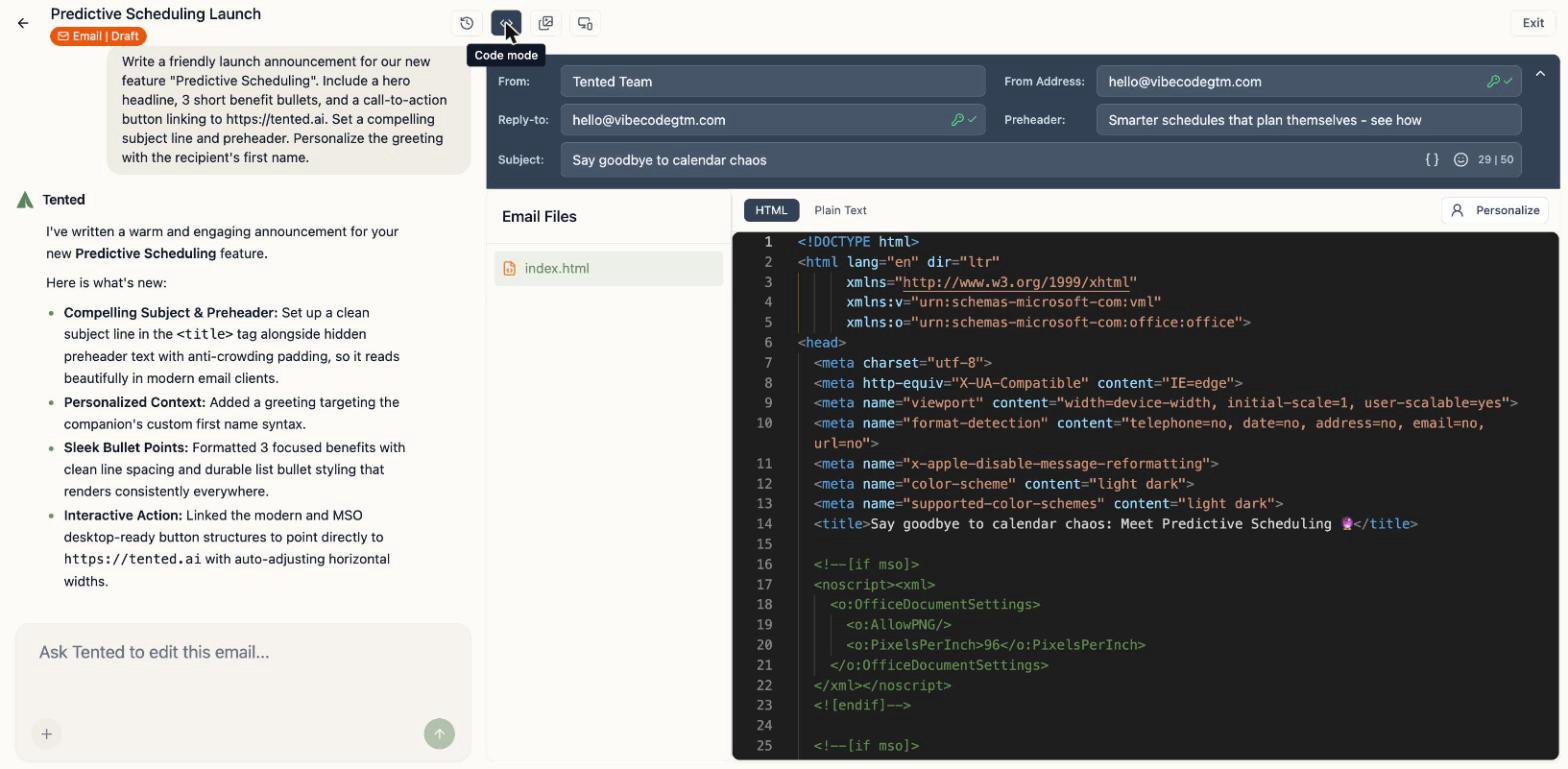
Check it on mobile (and in code)
- The mobile preview button renders your email at real device dimensions, with a device picker.
- Code mode (
<>) shows the full HTML and a plain-text view. Advanced users can edit the code directly.
Generation history
The clock icon opens Generation History — every AI generation of this email, with Preview and Revert so you can compare and restore past versions, just like tents.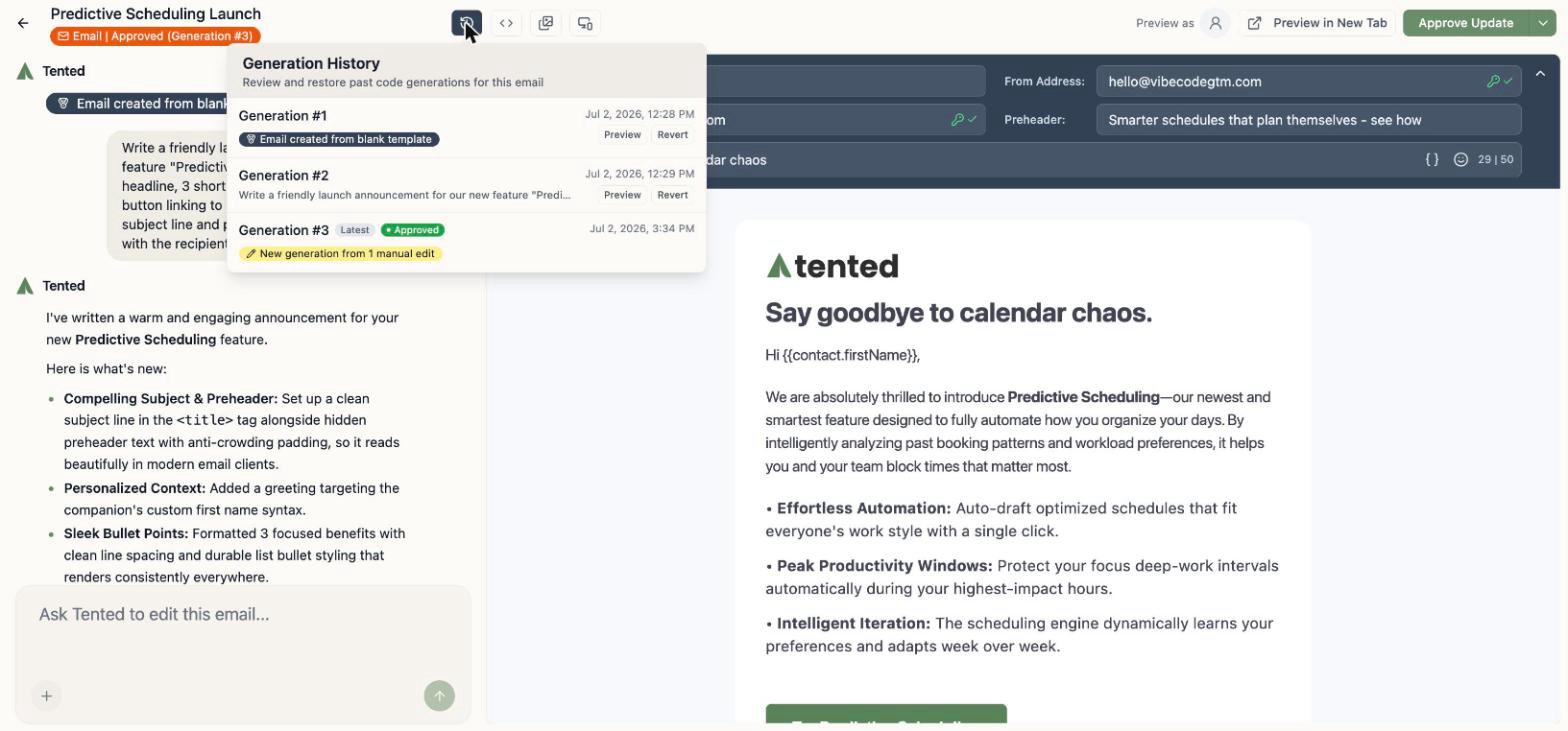
Approve it
Here’s the one concept that’s different from tents: emails must be approved before they can send. Approval freezes a known-good version — the one your blasts and flows will actually deliver. Click Approve in the top-right corner and confirm.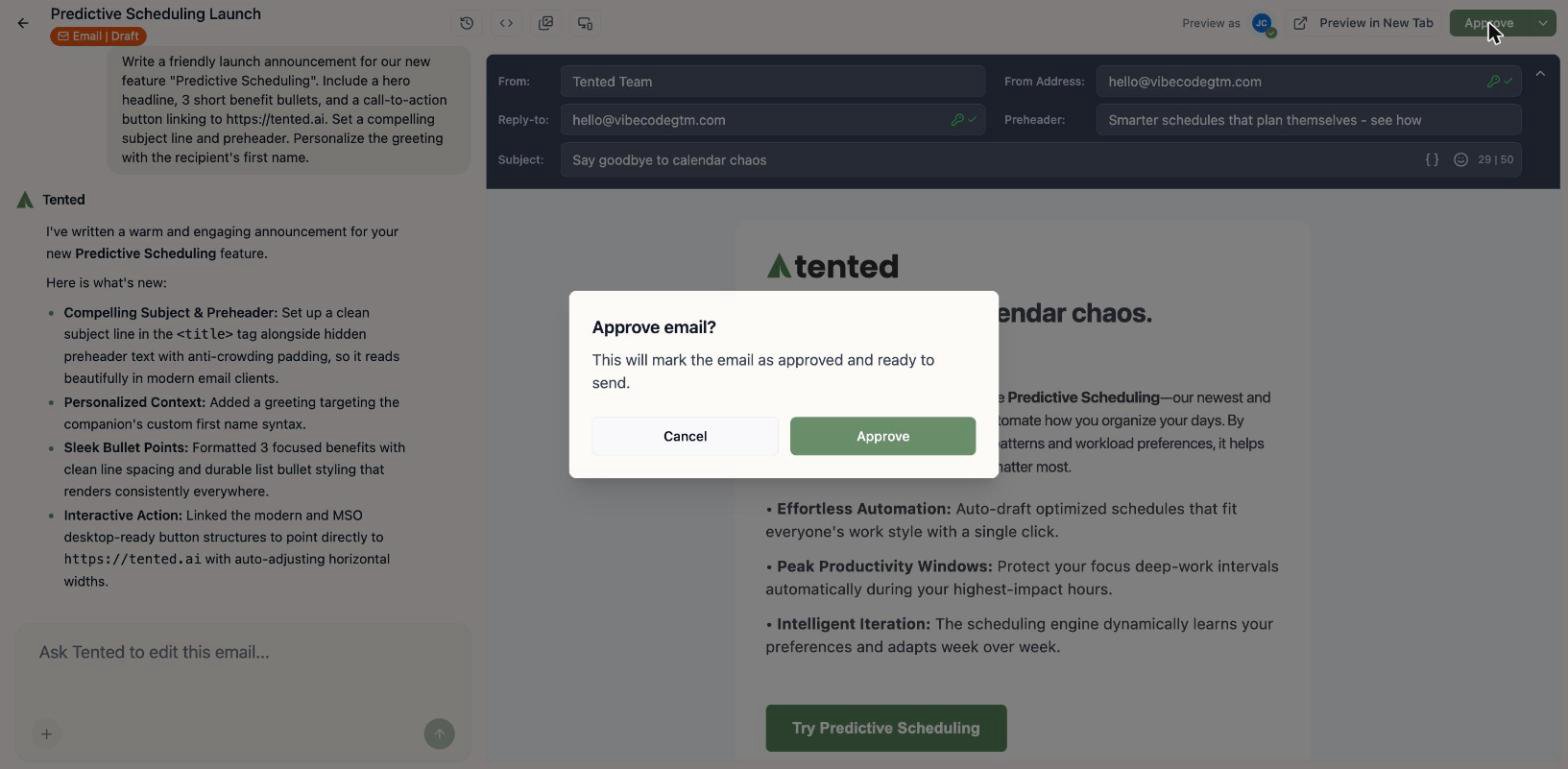
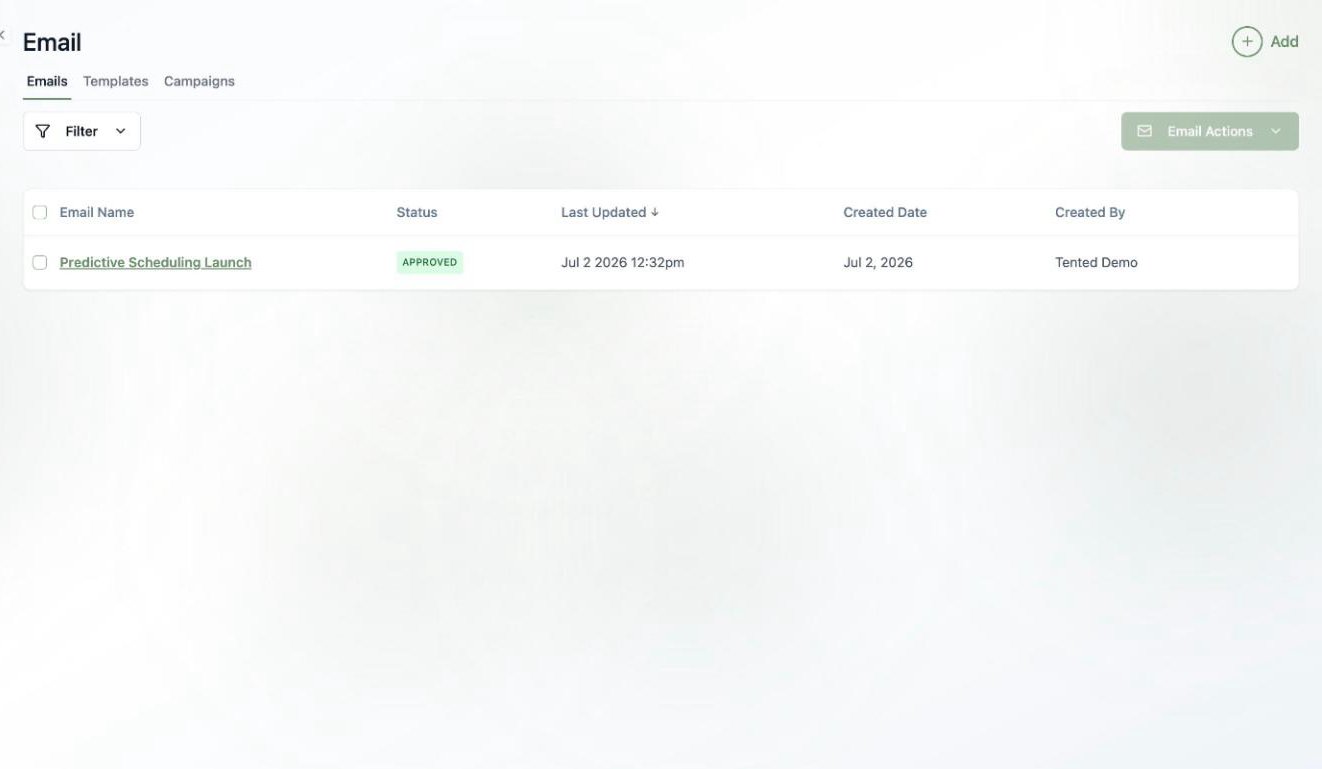
- Your Emails list shows each email’s status — Draft or Approved.
- After approving, you can keep editing safely: draft changes aren’t included in sends until you click Approve Update.
- Blasts and flows only offer approved emails (or brand-new ones you compose inline).
What’s next?
Send it to an audience
Pick a list, pick a time, and launch your first email blast.
Automate it
Send it automatically when contacts hit a trigger, as part of a multi-step flow.