Why templates?
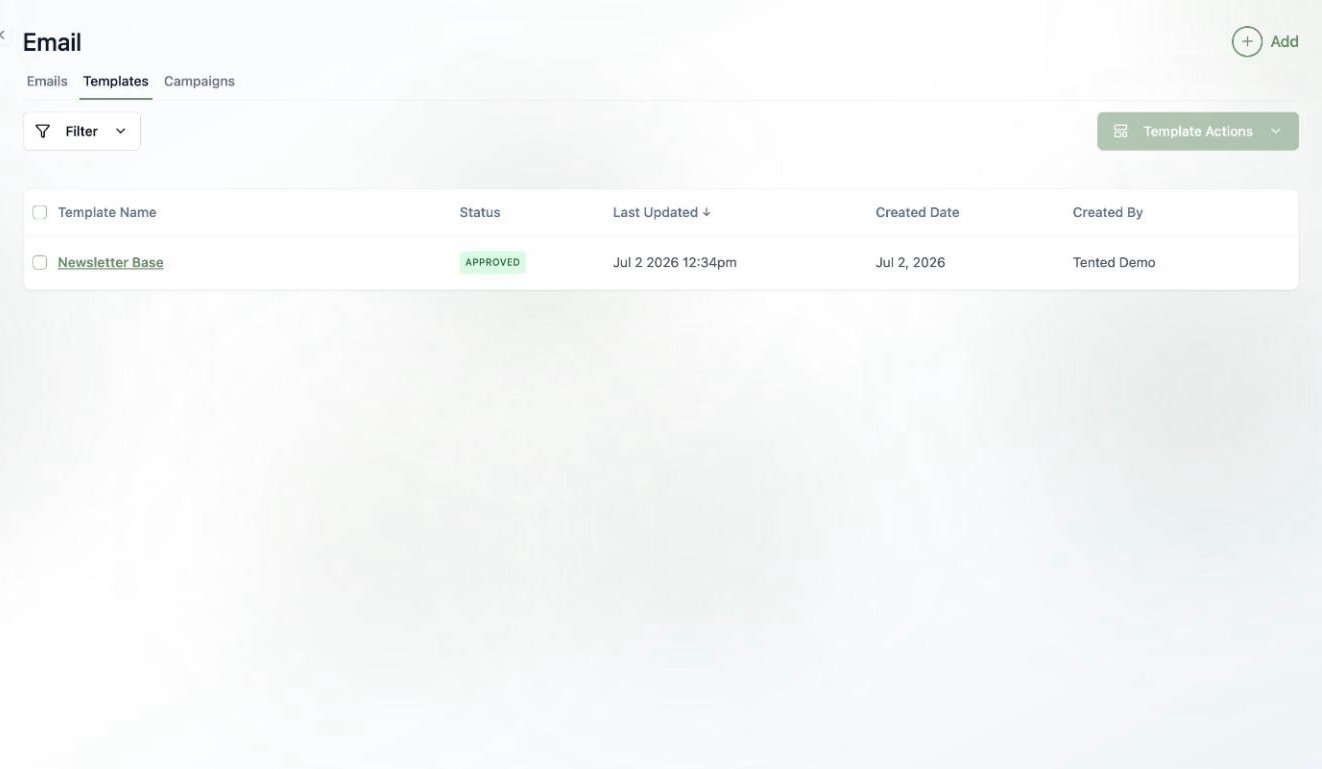
If your team sends a lot of email, you probably don’t want every message starting from a blank canvas. Email templates let you upload a designed HTML shell once — your header, footer, colors, and layout — and use it as the starting point whenever anyone creates a new email. Find them under Email > Templates.Adding a template
- Click Add > Add Email Template.
- Name your template.
- Upload your HTML file.
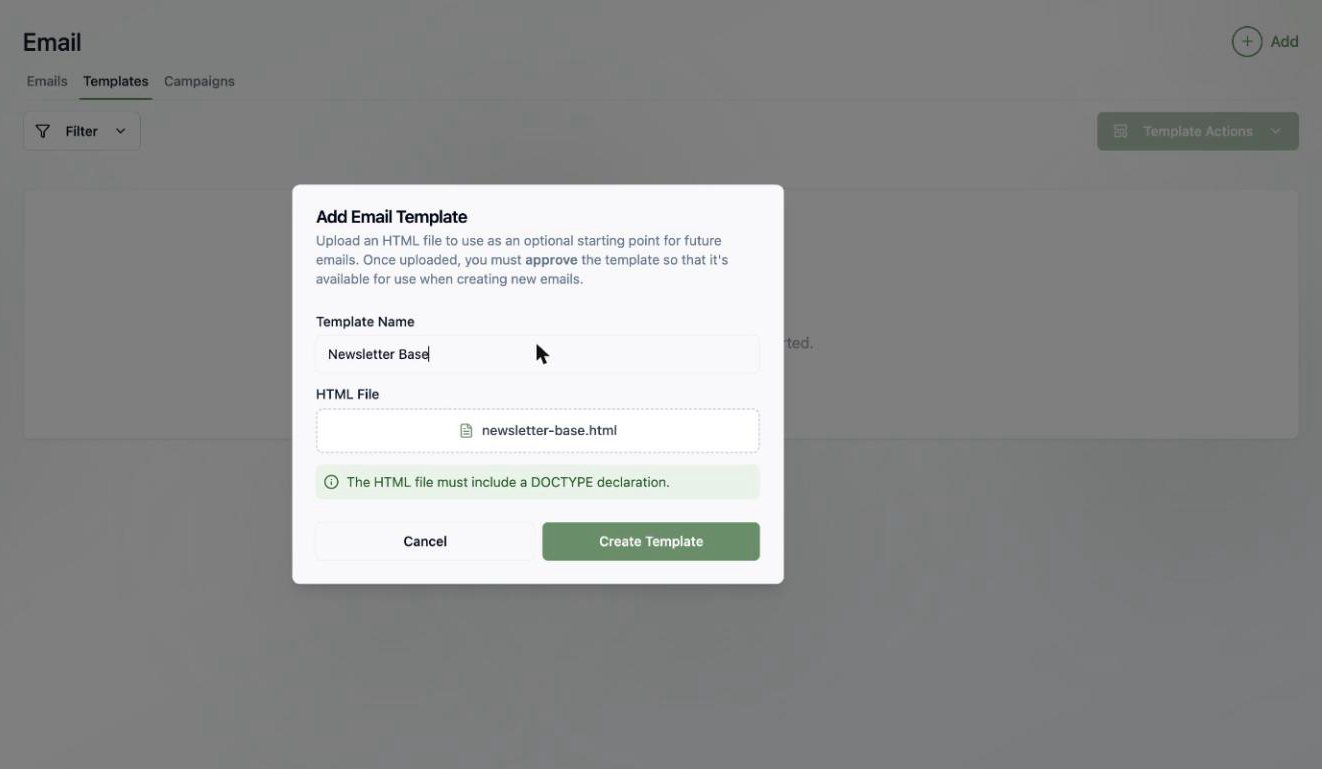
The HTML file must include a
<!DOCTYPE> declaration. If you don’t have a designed template handy, create an email you love in the email editor first, grab its HTML from code mode, and upload that.Editing and approving
Your template opens in the same AI editor used for emails — chat to refine it, edit the code directly, and set optional default headers (from name, from address, reply-to, and a default subject) that flow into every email created from it.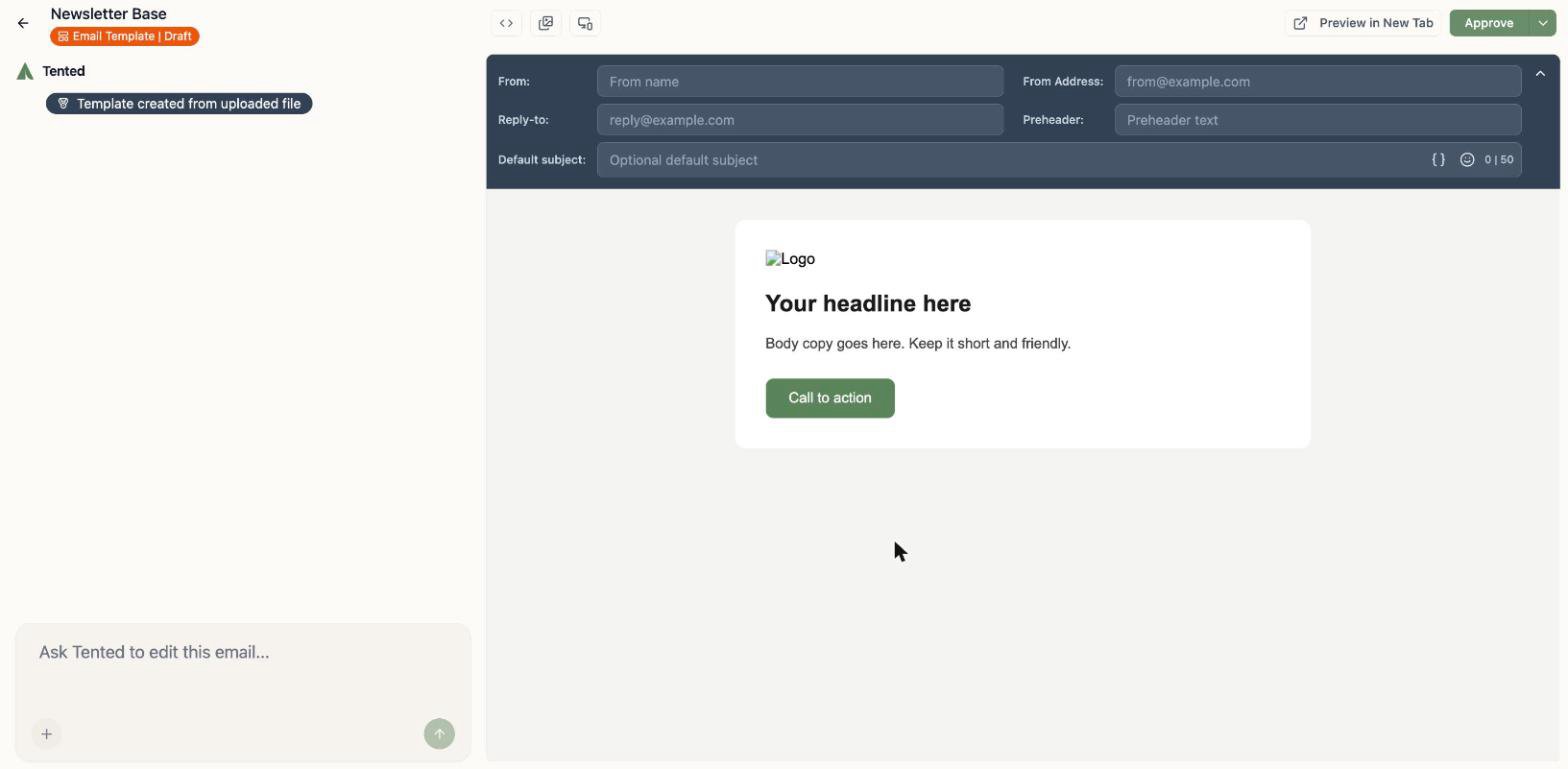
Using a template
When you create a new email (Add > Create Email), pick your template from the Template dropdown instead of starting blank. The new email inherits the template’s layout and default headers — then you customize from there with chat, and the template stays untouched.What’s next?
Next: Email Blasts
Send a one-time email to a list — scheduled, or right now.