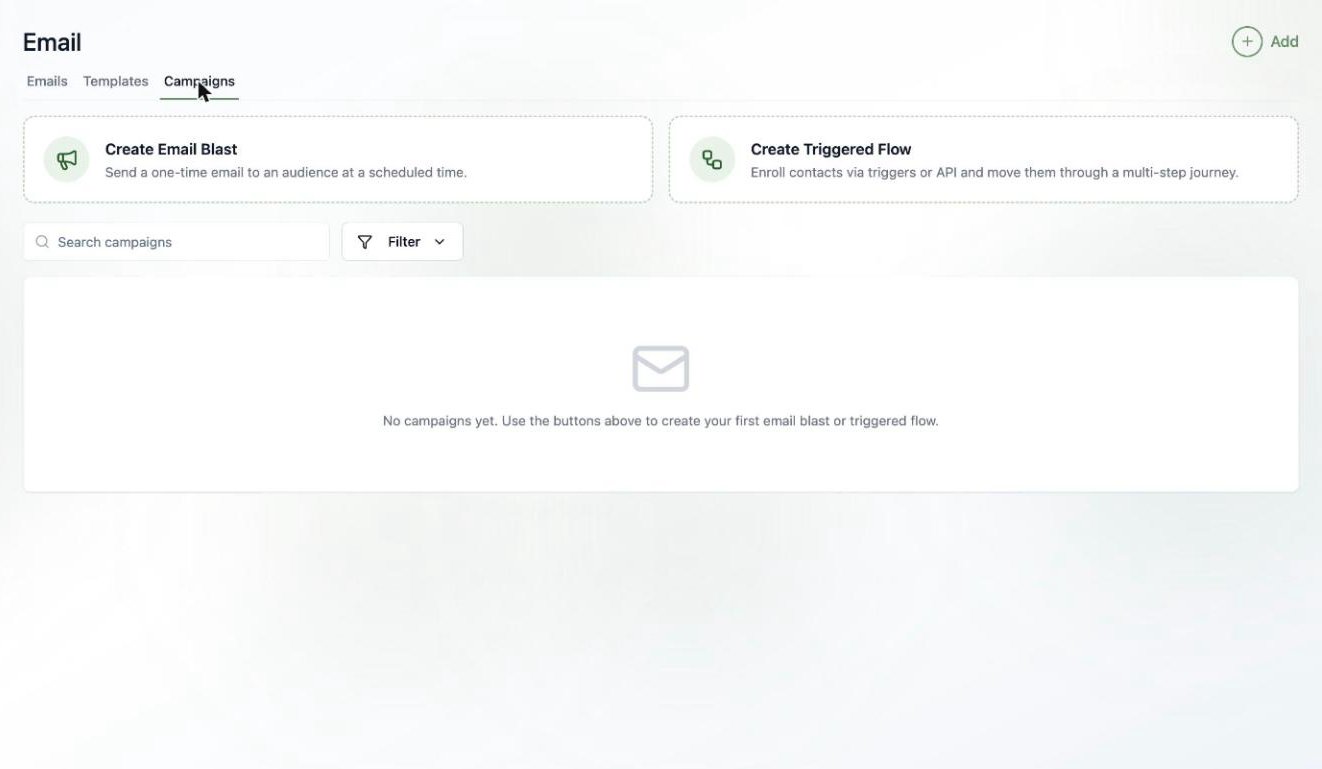
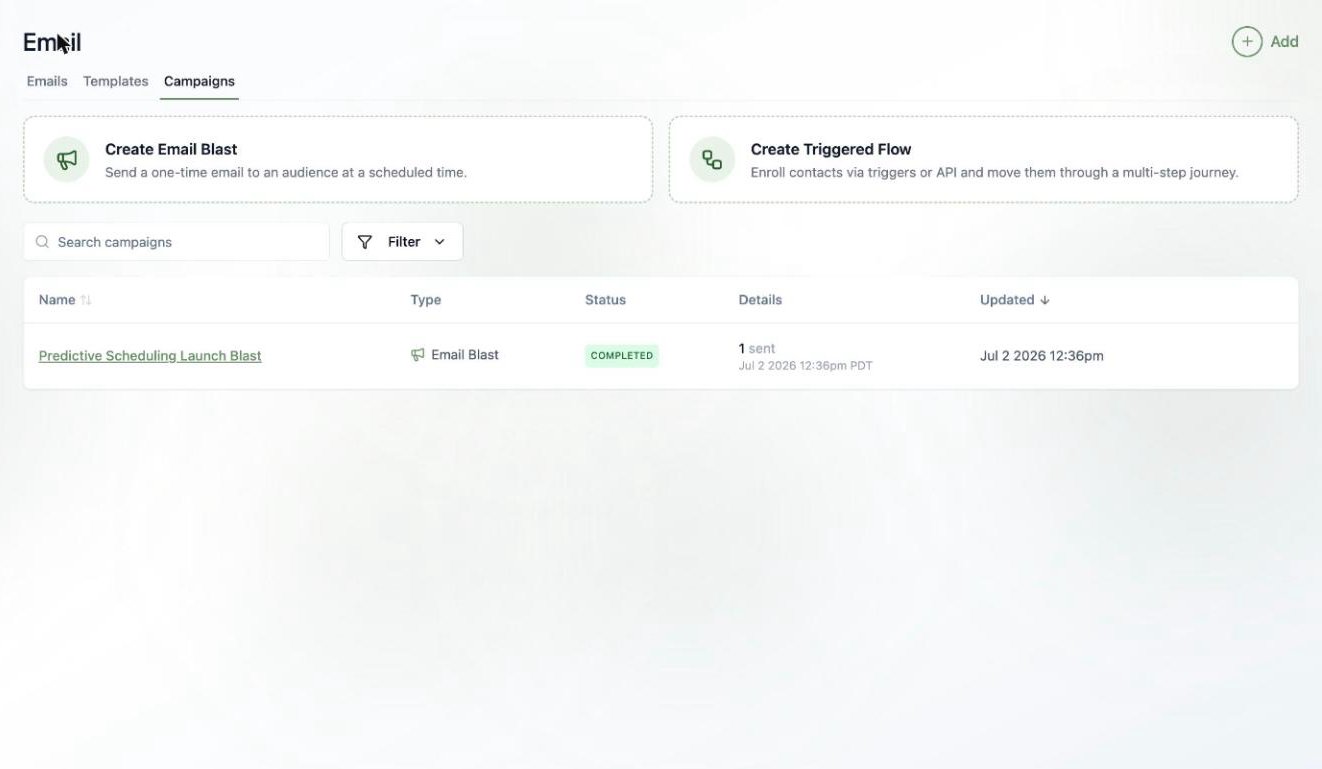
What’s a blast?

An email blast is a one-time send to an audience: product launches, newsletters, event invites, announcements. You pick who gets it, what they get, and when — Tented handles delivery, unsubscribes, and the results dashboard.
First time sending? Make sure your sending domain is verified — see Setting Up Email.
Head to Email > Campaigns and click Create Email Blast. Name your blast (this is just for your team — recipients never see it), and you’re dropped into a three-step wizard: Audience → Email → Schedule. Your progress saves automatically as you go. A screenshot of the Campaigns tab with cards for Create Email Blast and Create Triggered Flow.

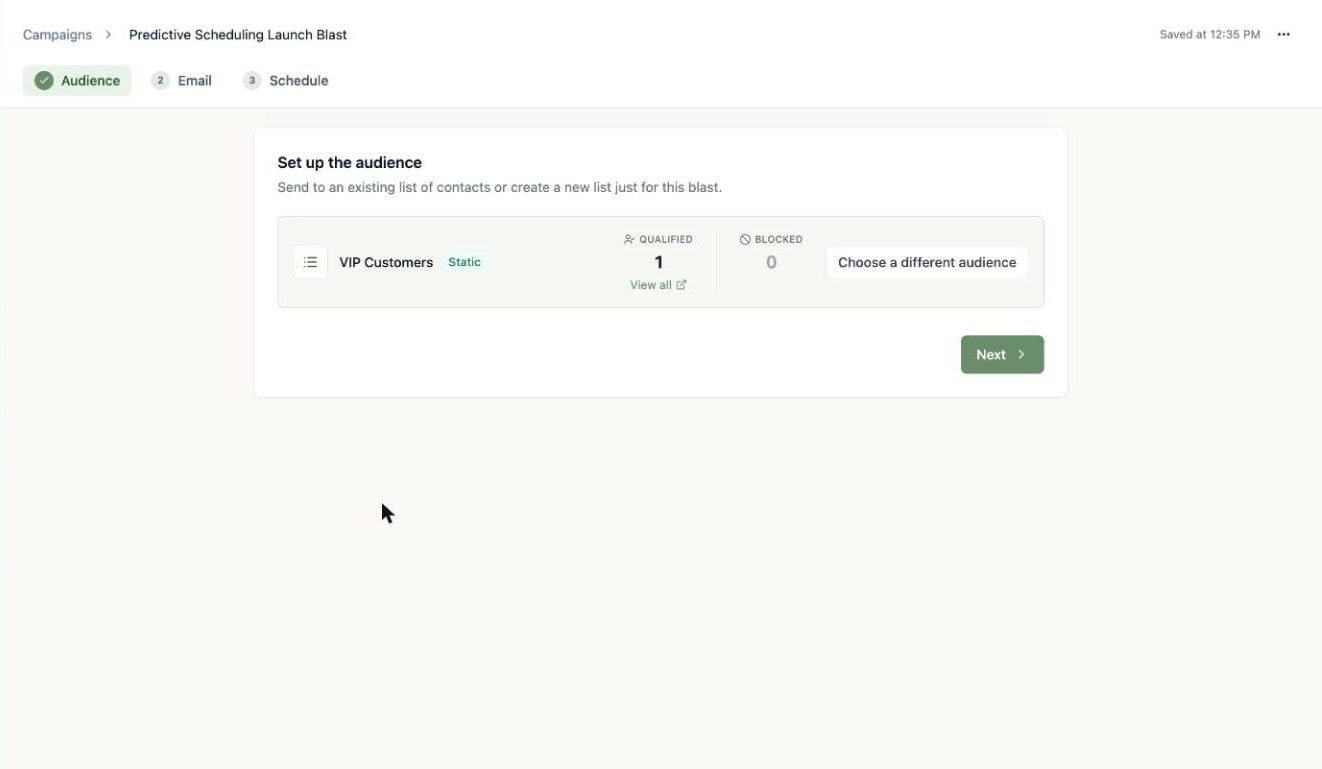
Step 1: Pick the audience

Choose an existing static or dynamic list, or build a one-off list just for this blast (it’s deleted along with the blast, keeping your Lists page tidy). A screenshot of the audience step showing the choice between using an existing audience and creating a new one, with a list picker below. Once you pick a list, Tented shows you the qualified count (people who will actually receive the email) and the blocked count (people excluded because they’ve unsubscribed). Click View all to inspect exactly who qualifies. A screenshot of a selected audience showing 1 qualified contact and 0 blocked.

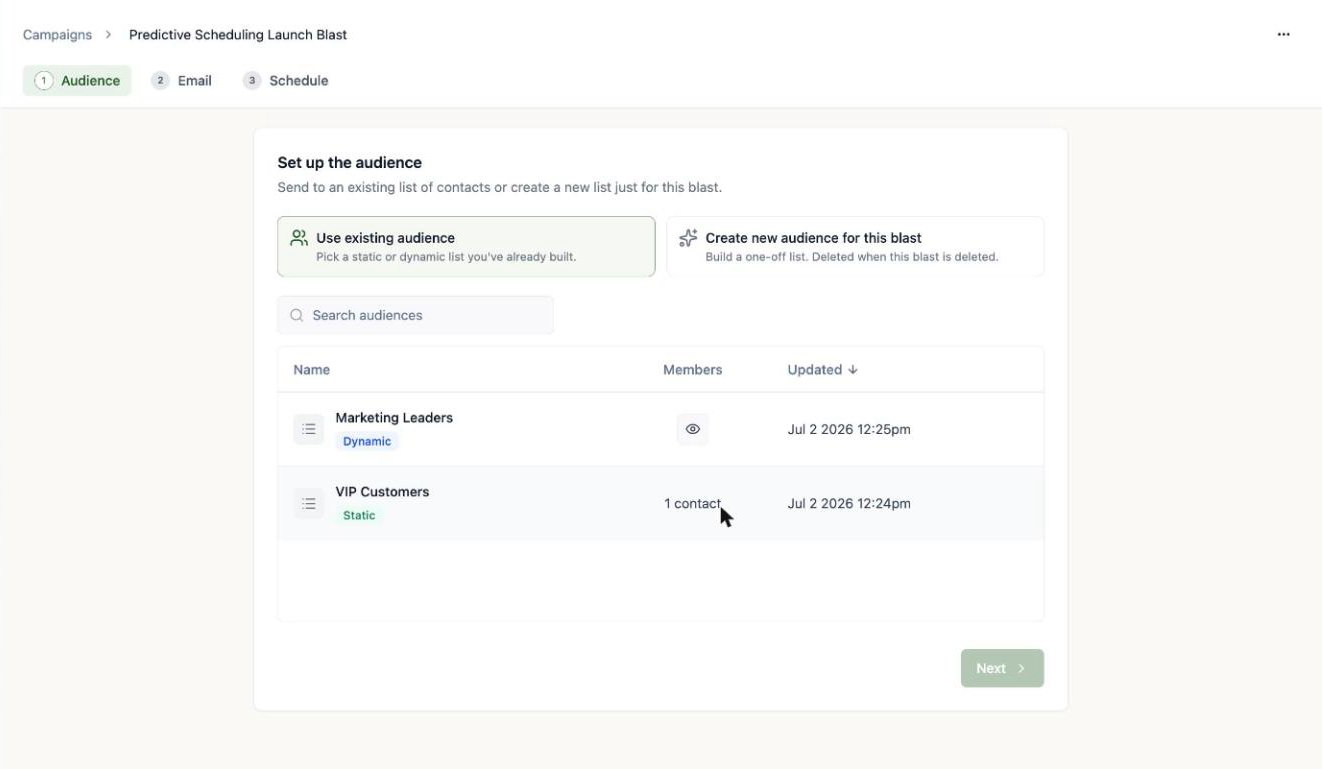
Step 2: Pick the email

Use an existing approved email, or compose a one-off email inline just for this blast. A screenshot of the email step showing the choice between using an existing approved email and creating a new one for this blast.
Blasts send the approved version of an email. If you’ve made draft edits since approving, they won’t go out until you click Approve Update on the email.

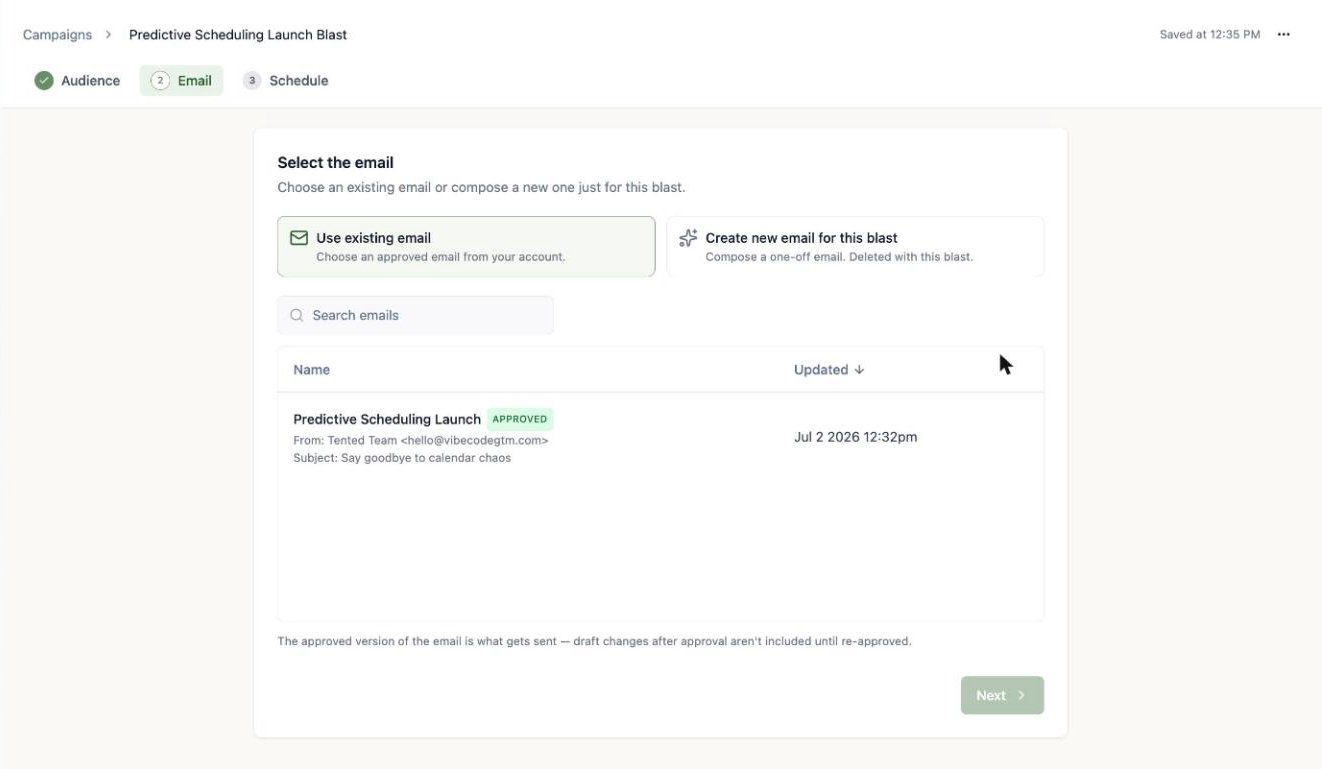
Step 3: Schedule it (or don’t)

Two ways to launch:
  • Schedule send — pick a day and time; the blast is approved now and sends automatically.
  • Send now — confirm, and it goes to everyone qualified immediately. This can’t be undone, so the confirmation shows you the exact recipient count first.
A screenshot of the schedule step with options to schedule for a specific day and time or send now, plus the Set as operational toggle.
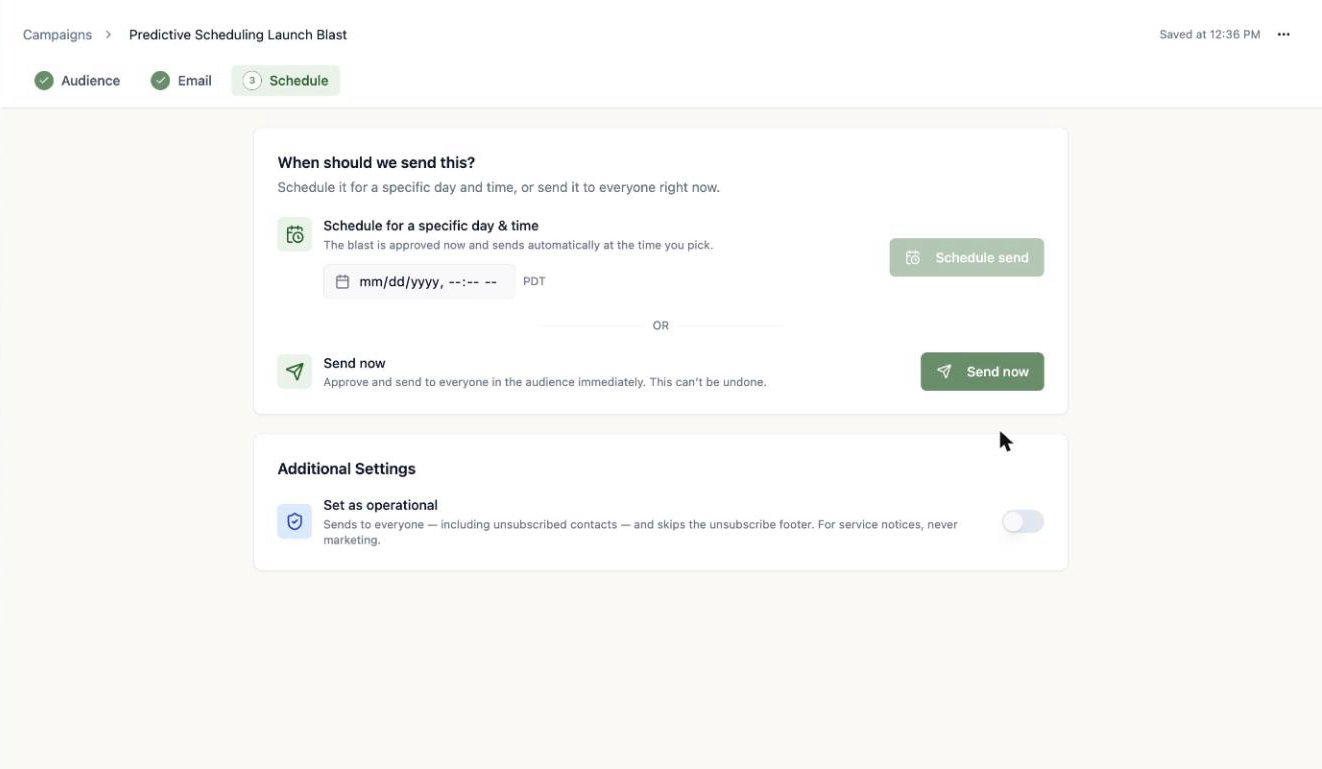
Set as operational is for service notices — password resets, security announcements, terms changes. Operational sends go to everyone including unsubscribed contacts and skip the unsubscribe footer. Never use it for marketing.
Scheduled the wrong thing? A scheduled blast can be unscheduled any time before it sends — it returns to draft (with your original send time remembered) so you can edit the audience or email and reschedule.

Watch the results roll in

The moment a blast sends, its page becomes a live results dashboard: recipients, sent, delivered, opened, clicked, bounced, unsubscribed, and spam reports. A screenshot of a completed blast showing its status, audience, email, and a results dashboard with sent and delivery metrics.

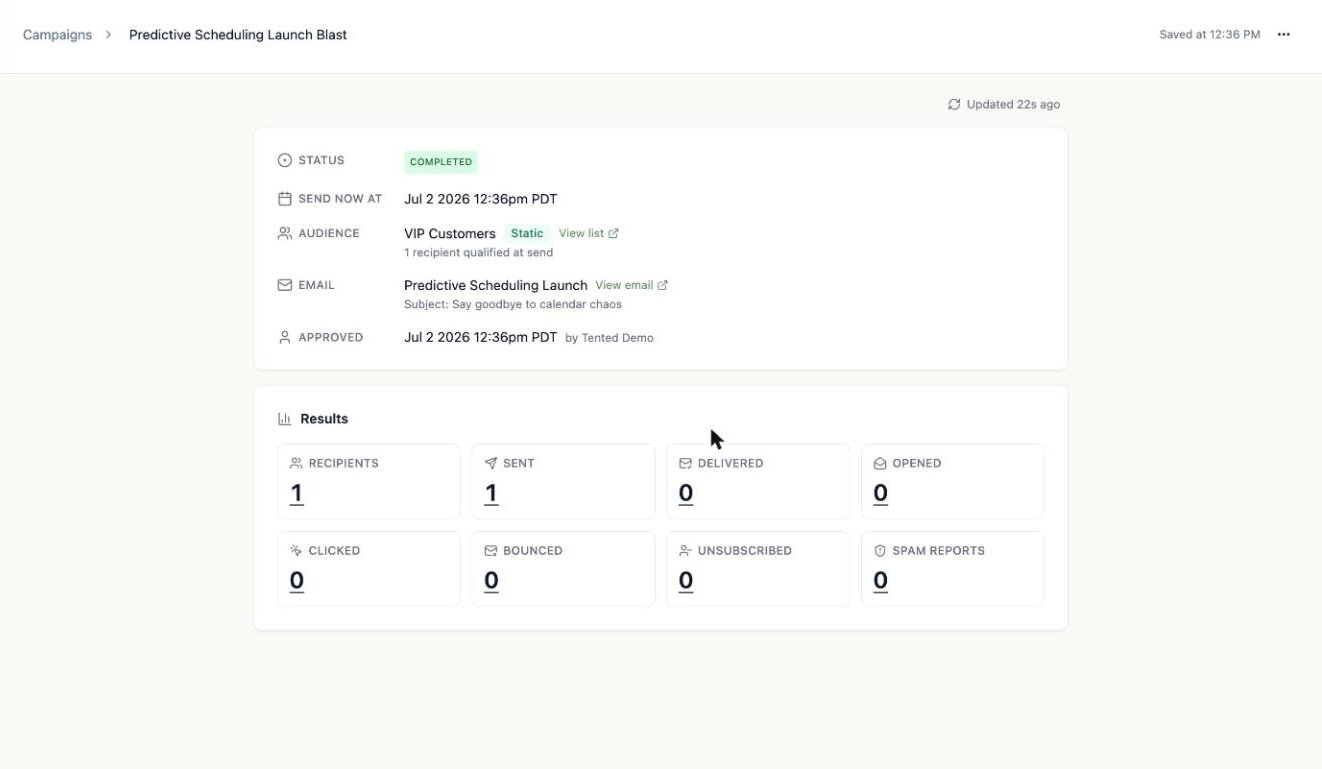
Drill into any metric

Every number on the dashboard is clickable. Click a metric — say Delivered or Bounced — to open the Activity view: the exact contacts in that bucket, with timestamps (delivered at, opened at, and so on). A left-hand rail lets you jump between buckets, and there’s a search box to find a specific person.
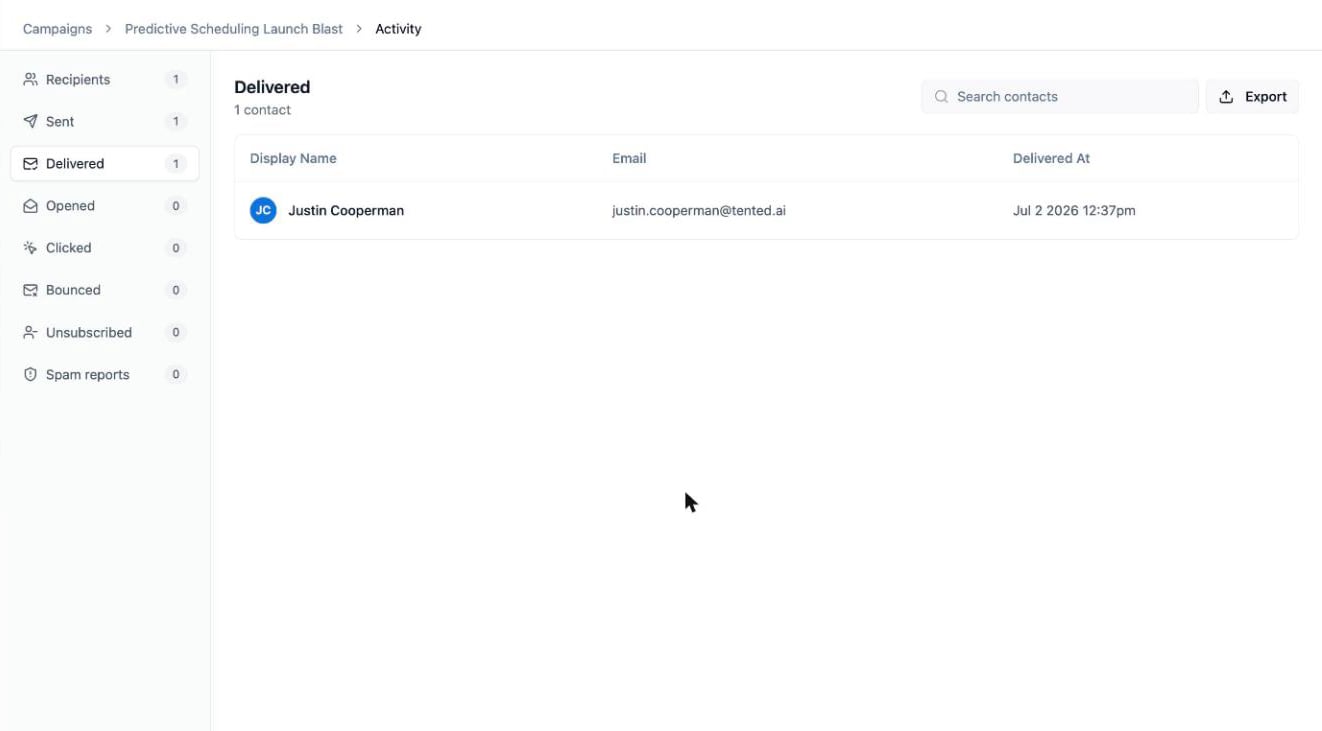
 A screenshot of the blast Activity view showing the Delivered bucket with one contact, the metric rail on the left, and an Export button. Click Export to download the contacts in the current bucket as a CSV — handy for pulling your bounced addresses for cleanup, or your openers for a follow-up. All your blasts (and flows) live together on the Campaigns tab, with status and headline results at a glance. A screenshot of the Campaigns list showing a completed email blast with 1 sent.

What’s next?

Next: Triggered Flows

Go beyond one-time sends — build multi-step journeys that run automatically.